Category: Tools

The $2,850 crayon set

A GIFT FOR THE CREATIVE PERSON WHO HAS EVERYTHING.


I’m hoping to get this as a gift over the holiday period, but I doubt that I will.

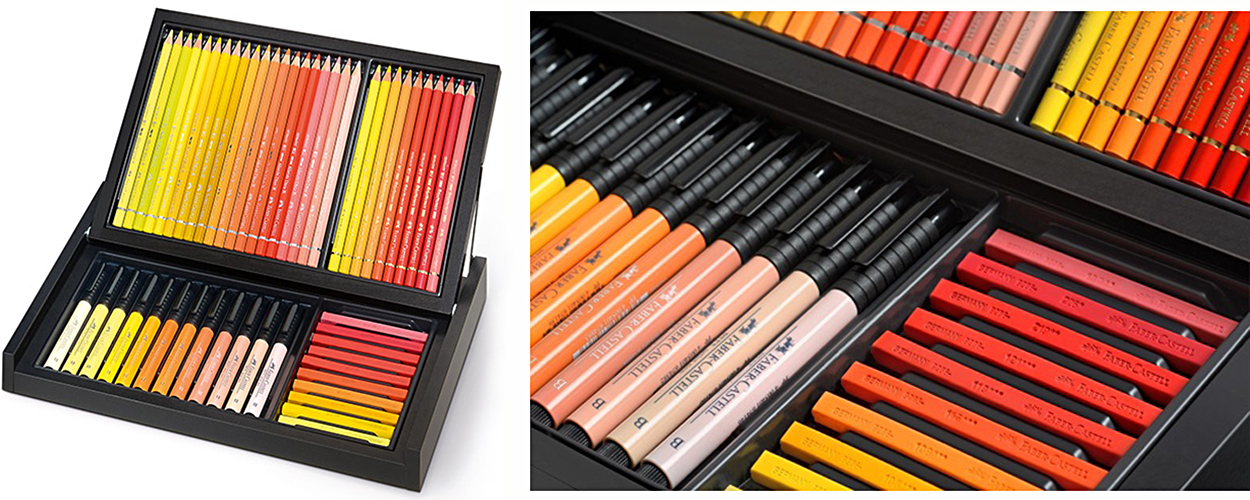
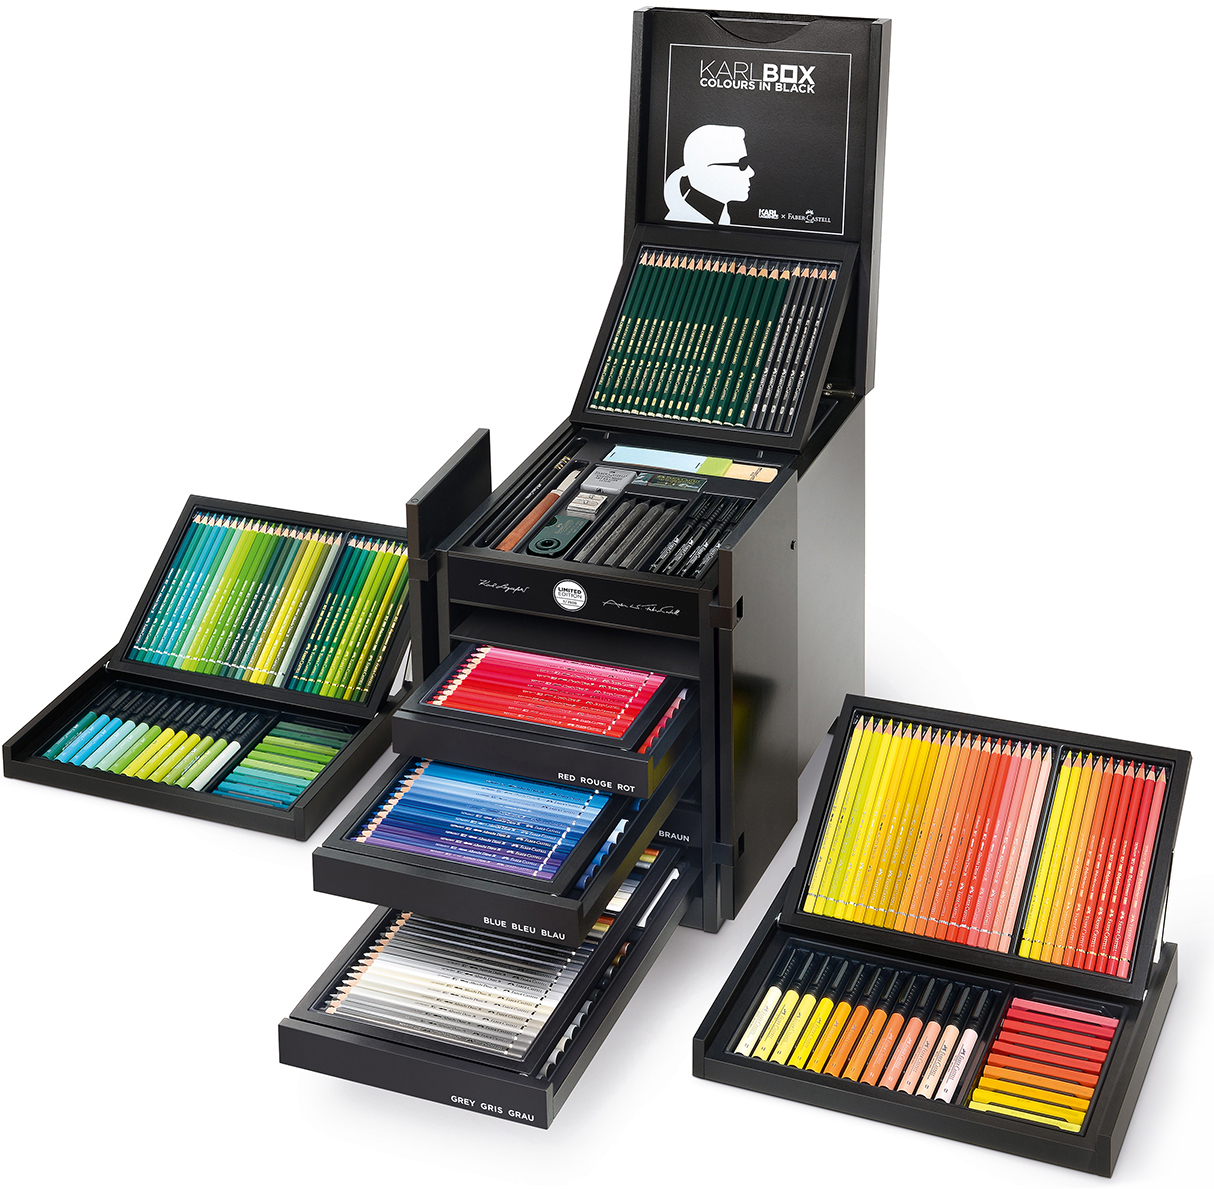
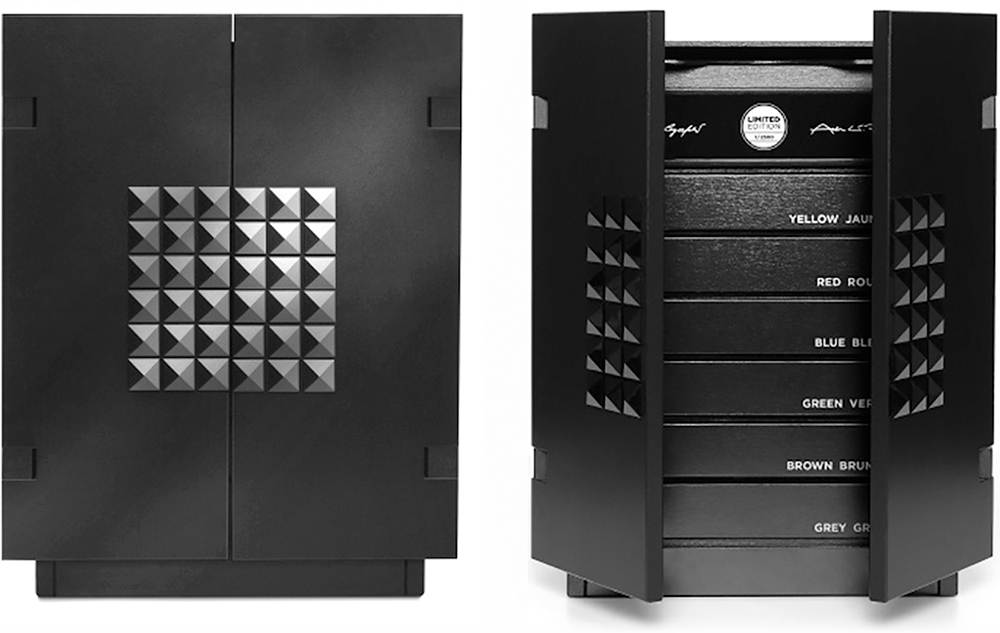
“KARLBOX” was designed by Karl Lagerfeld, and contains 350 Faber-Castell drawing and painting items in a beautiful black wooden cabinet, arranged in removable drawers by color. It was produced in a limited edition of 2,500.

Buy one at the MoMA store: goo.gl/nXEASo

KARLBOX website: http://www.colours-in-black.com/#en

This post is a companion to an earlier one about the $1,280 paintbrush: https://wp.me/p7LiLW-1M5

Next post: January 8. I’m taking a rest from blogging. Thanks for following. Enjoy the holidays!

DNA

PRINTING THE GENOME, AND THE DOUBLE HELIX STORAGE SOLUTION.

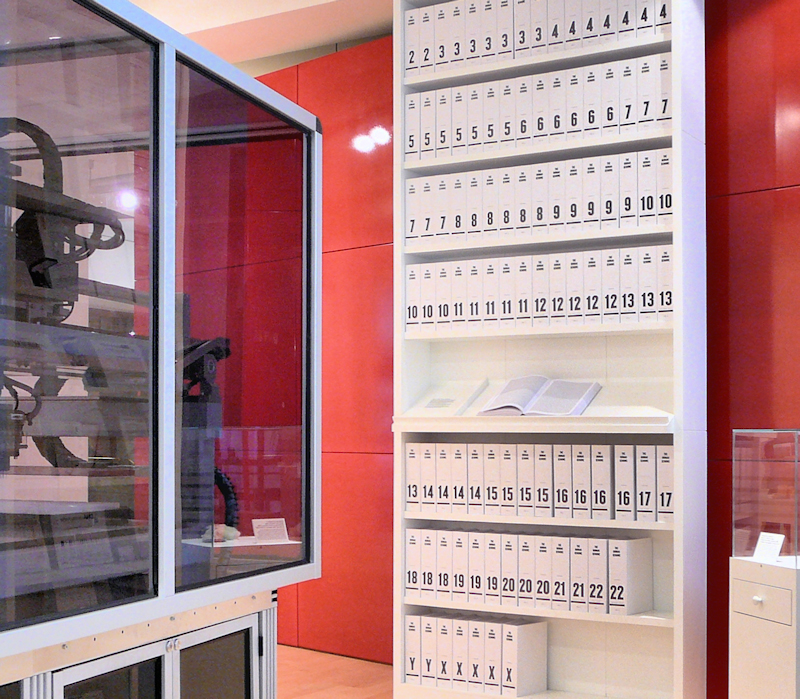
The Wellcome genome bookcase 118 books, each a thousand pages long, contain the 3.4 billion letters of DNA code that make up the human genome, displayed in a type size of 4.5 pts. The bookcase is part of the Welcome Collection in London.


Photograph by Russ London.

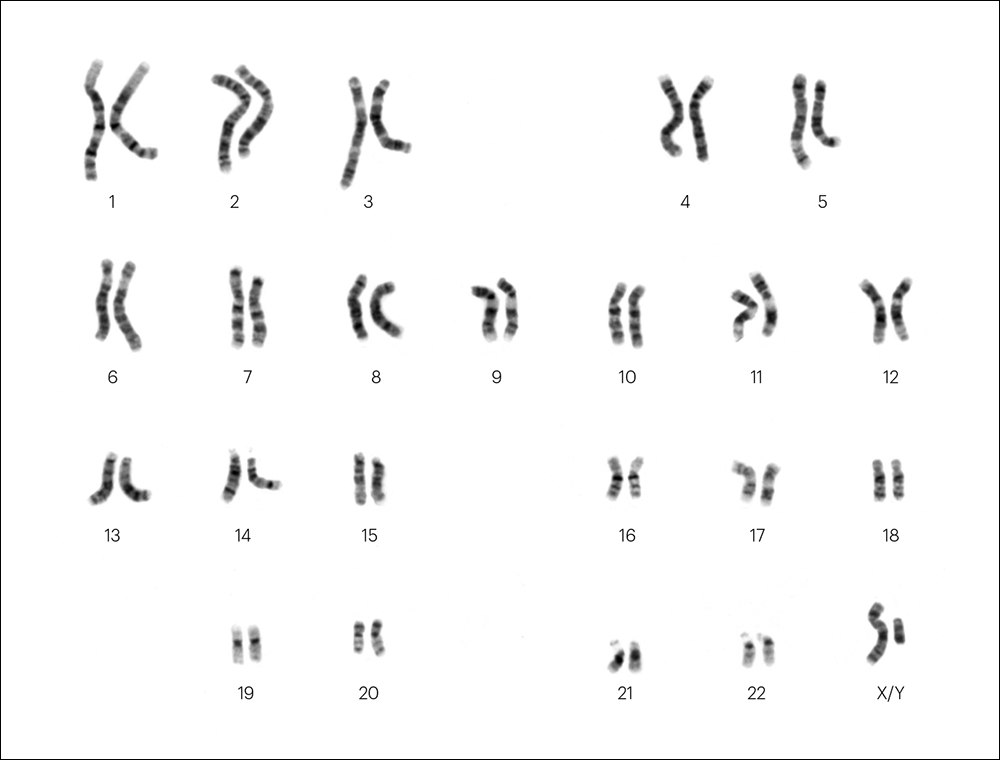
The books are numbered for the 22 pairs of chromosomes, plus X and Y. Below, the male karotype.


National Human Genome Research Institute.

Ultimate storage Our DNA carries all this information with an incredible degree of compactness. As a result, researchers are developing techniques to use DNA to store data. A single gram could potentially hold 215 million gigabytes. The artificially created strands can be read by sequencing machines. Another big plus is that DNA has the potential to last for hundreds of thousands of years, if stored correctly.

Below, the first published illustration of the double helix (in “Nature,” 1953), illustrated by Odile Crick. She was married to Francis Crick, who discovered the structure of the DNA molecule with James Watson.

A more developed version from “Nature” in 1968.

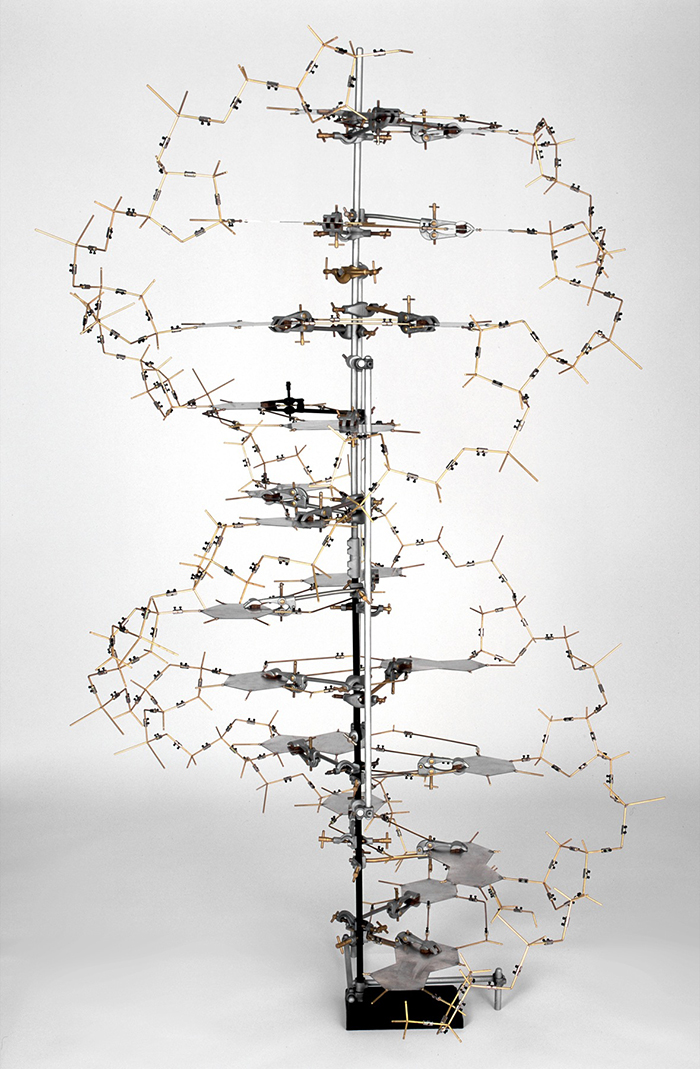
A replica of Crick and Watson’s original DNA model.


MRC Laboratory of Molecular Biology.

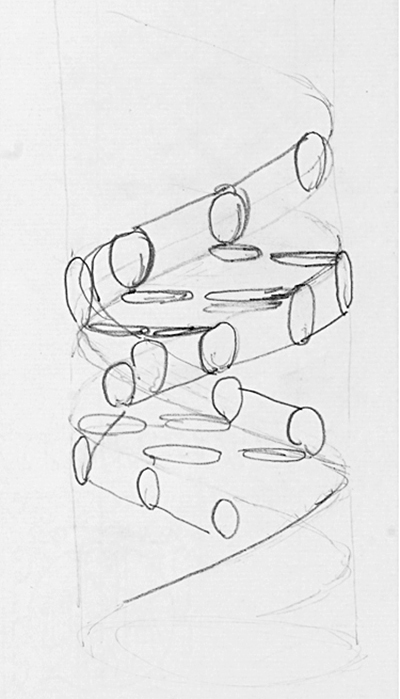
Crick’s original drawing.

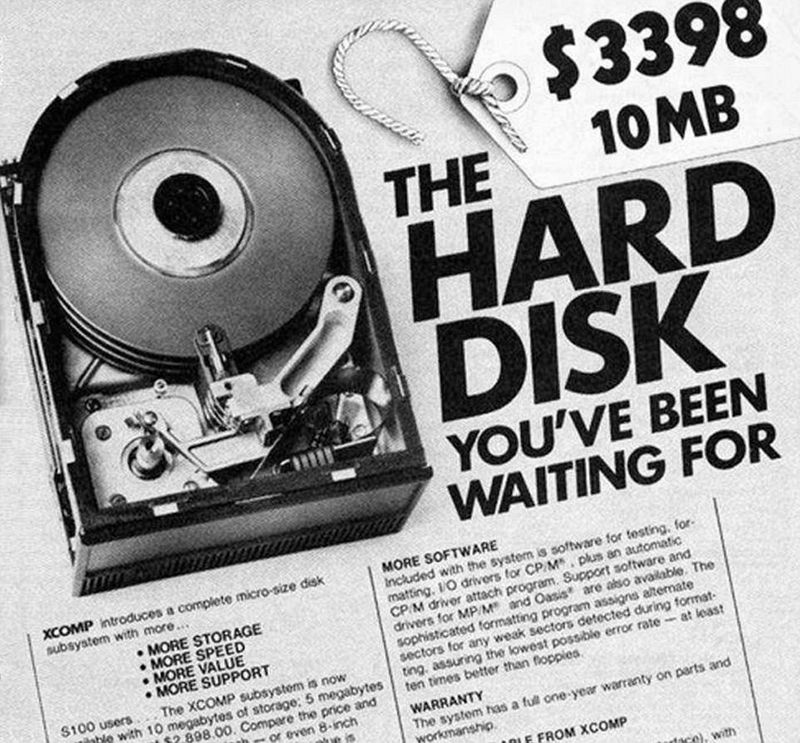
Data storage footnote Back in the early 1980s, 10 megabyte storage was really something (and really expensive).
That’s about $10,000 in today’s dollars.

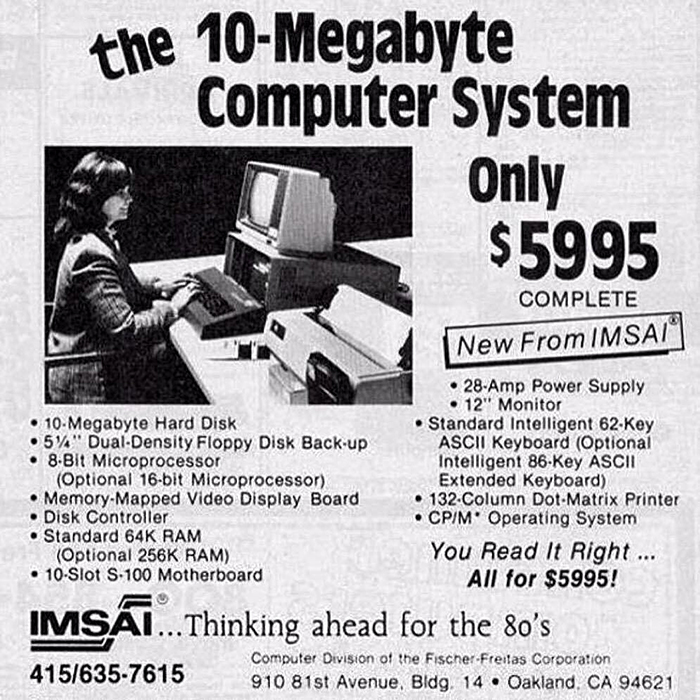
This computer from the late 1970s cost $24,000 (adjusted for inflation).

Fernando Baptista in Ohio

A SCULPTURE AND INFOGRAPHICS WORKSHOP.

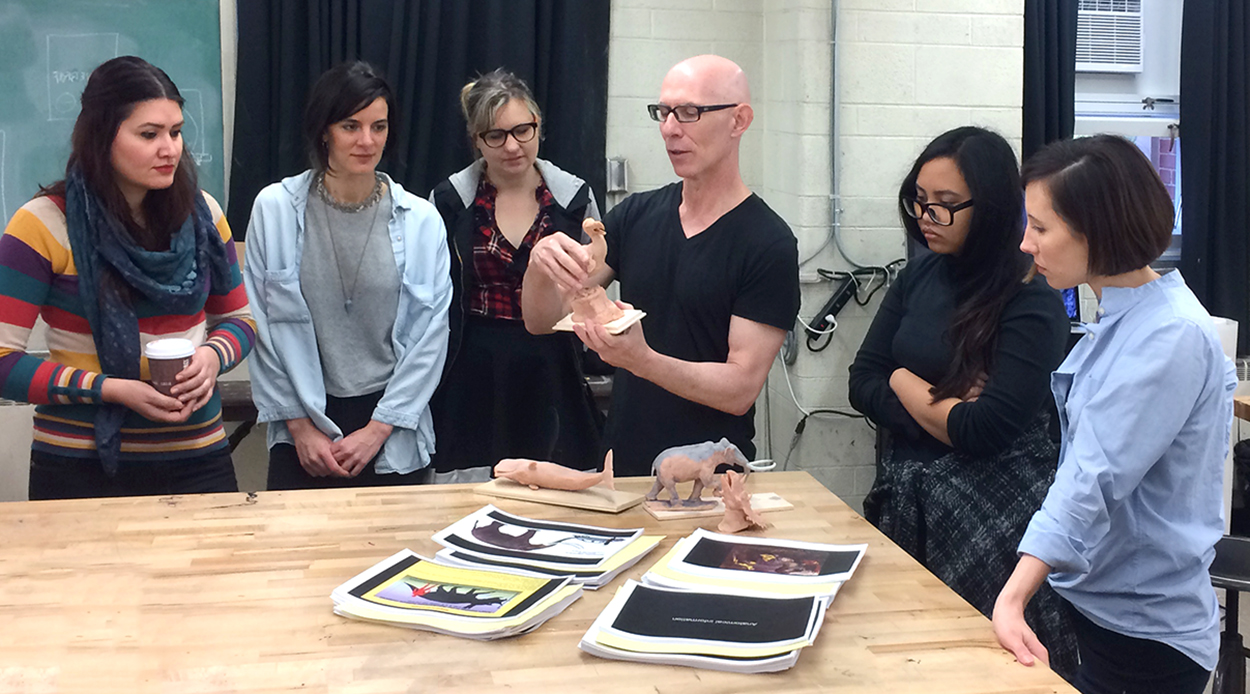
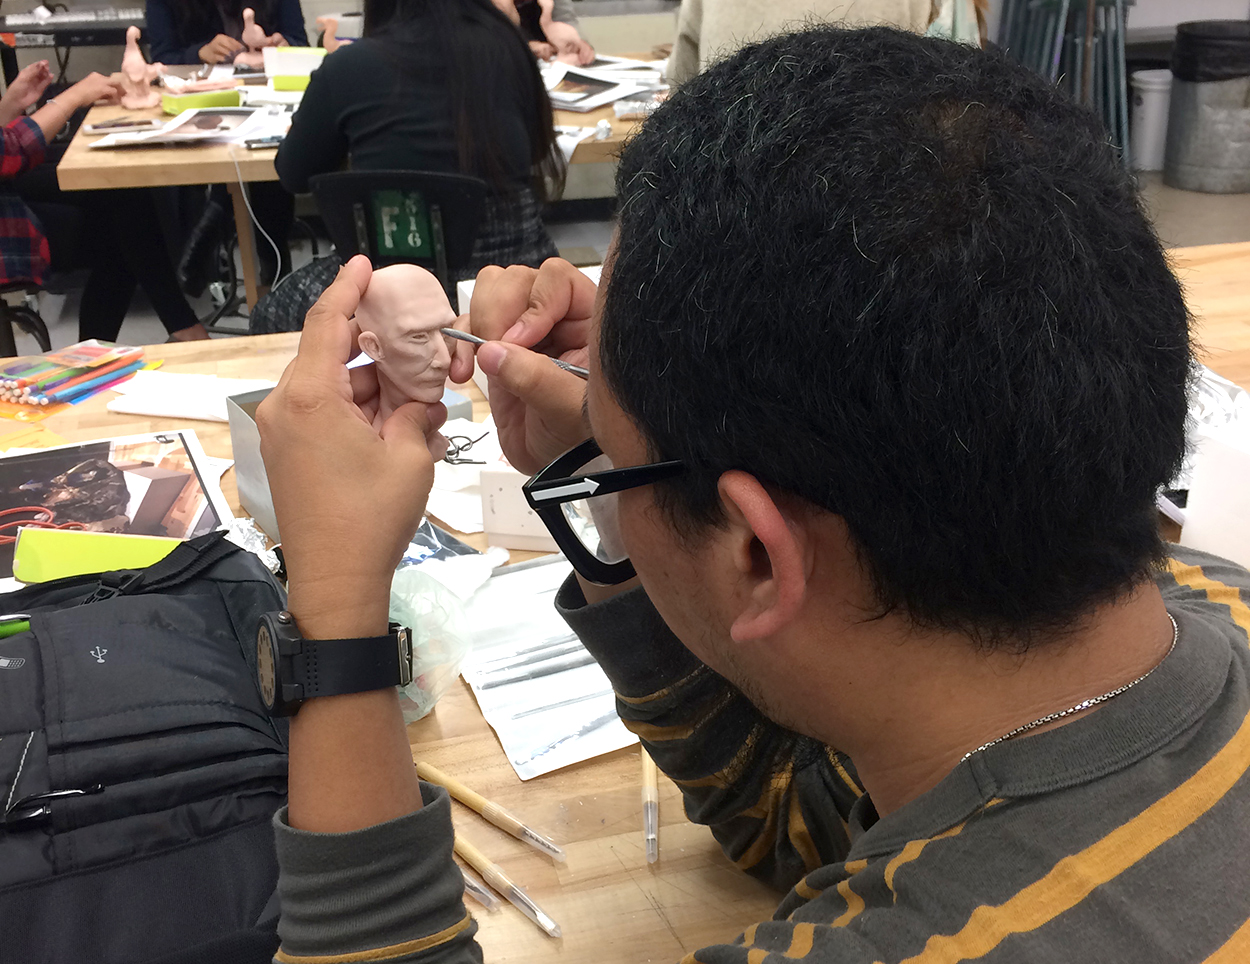
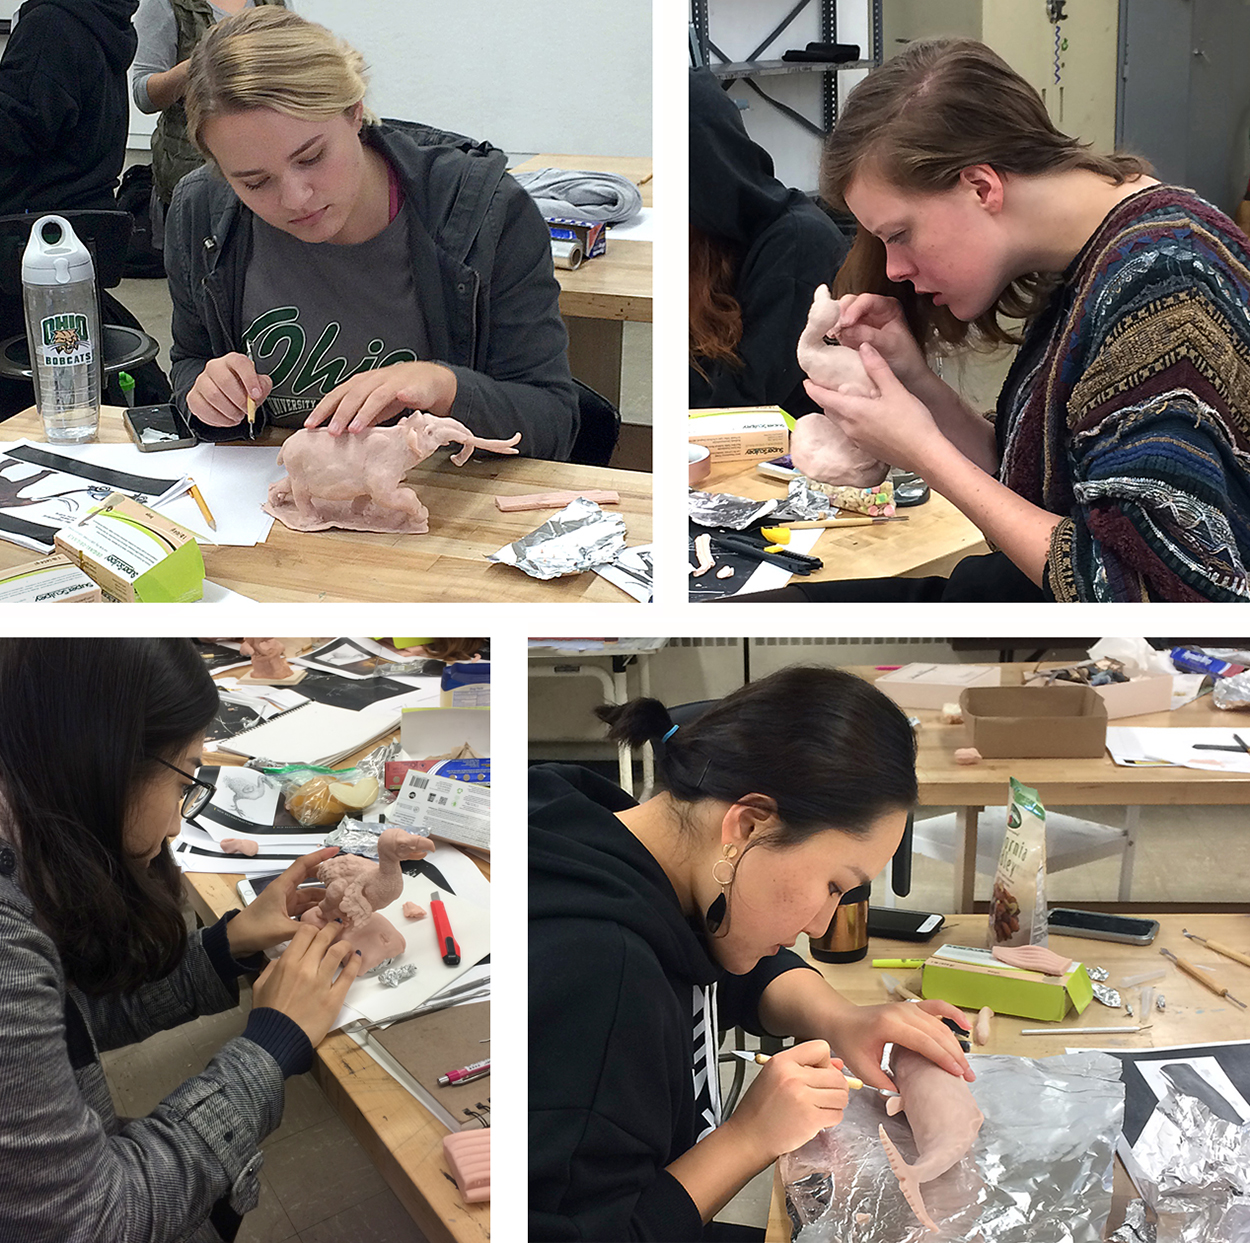
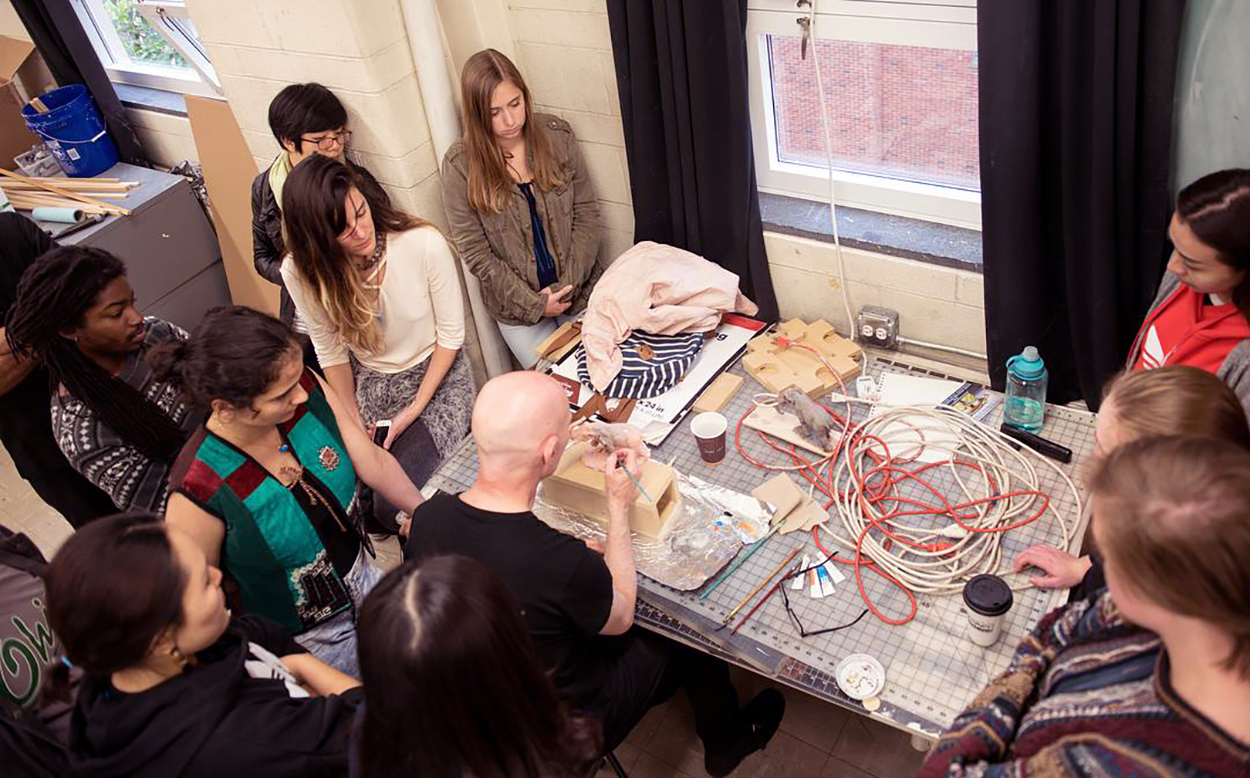
Last week, Fernando Baptista visited Ohio University. He gave a presentation to a packed auditorium, and the following day he began a two-day workshop for twenty students from the School of Art + Design and the School of Visual Communication. The group used the same methods that Fernando uses to make his superb illustrations for National Geographic magazine. Undergraduates and graduates worked together in a studio that is used for art and design classes. Countries (apart from the U.S.) that were represented: China, India, Iran, the Philippines and Spain.
Photograph above by Kisha Ravi (a VisCom photojournalism student).

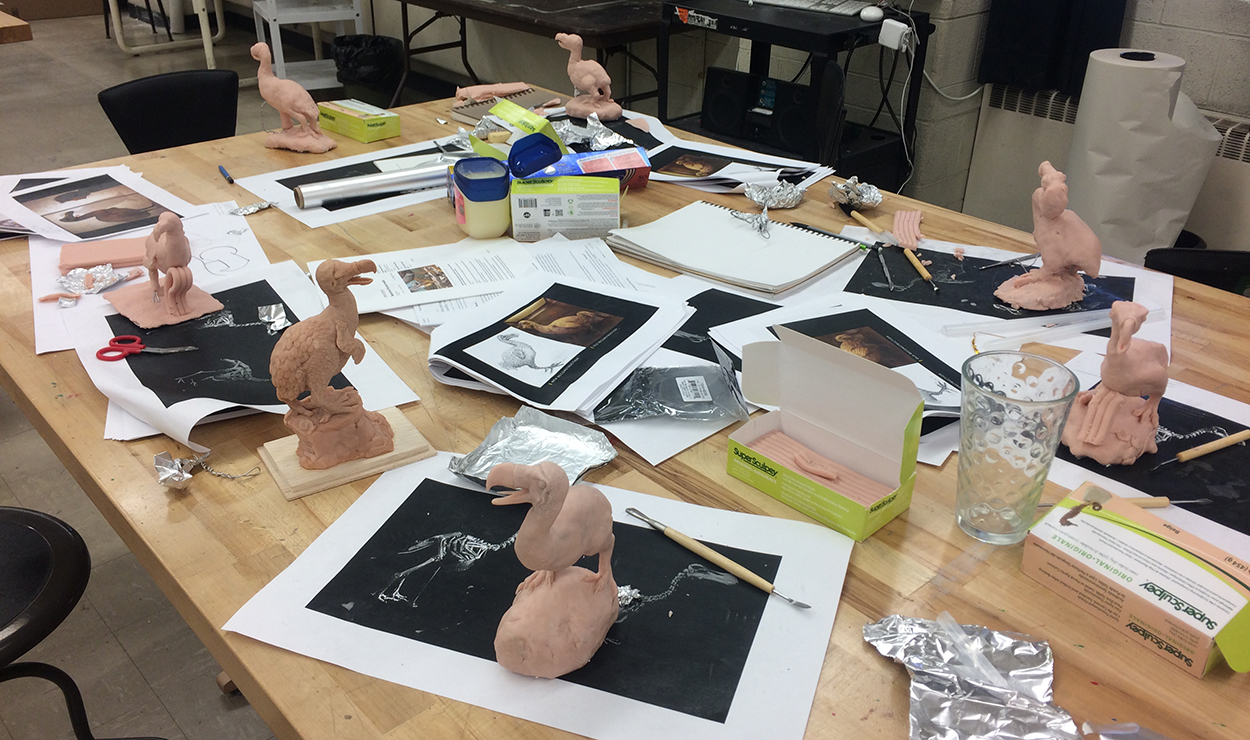
Day One The reference material. Students chose one of four subjects: mammoth, sperm whale, dodo or triceratops.

The equipment. Notice the figure from an animation about Trajan’s Column, who happens to be on the table. See the video here: goo.gl/jhqbkb

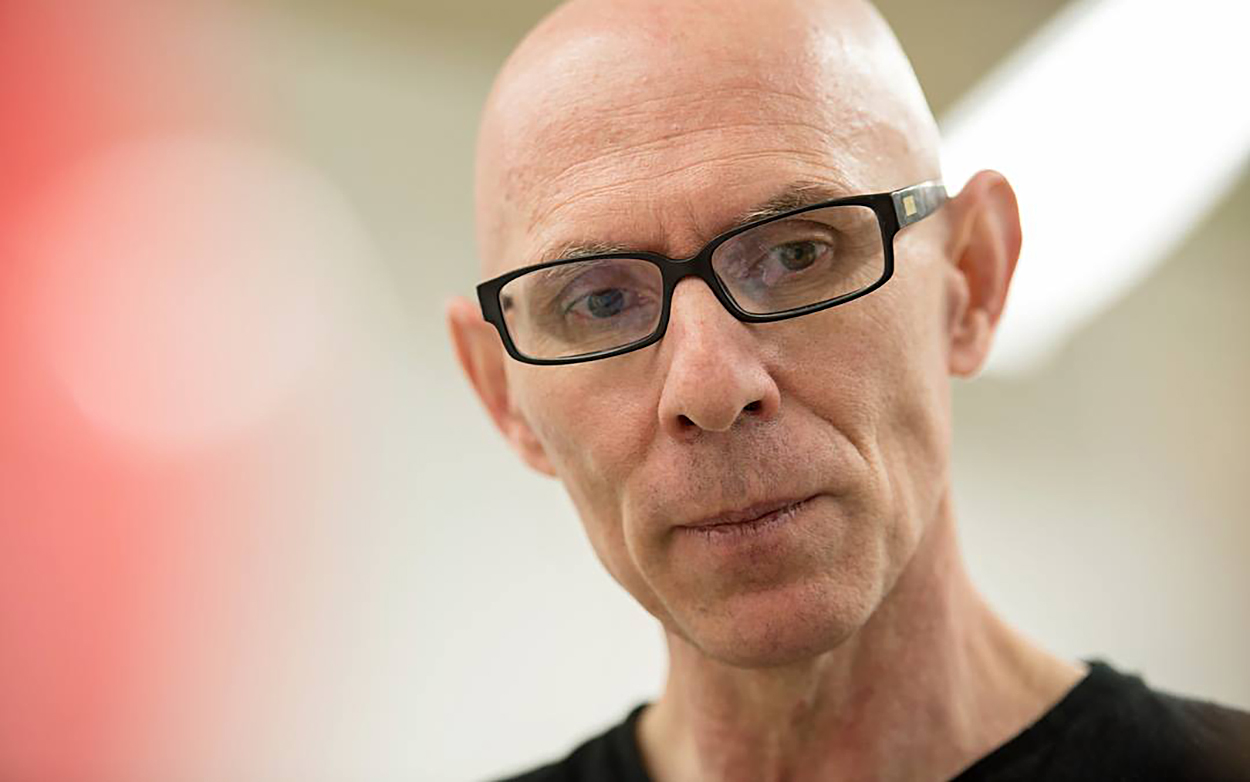
Fernando explains his process. Like all great professionals, he’s keen to share the lessons he’s learned during his career.

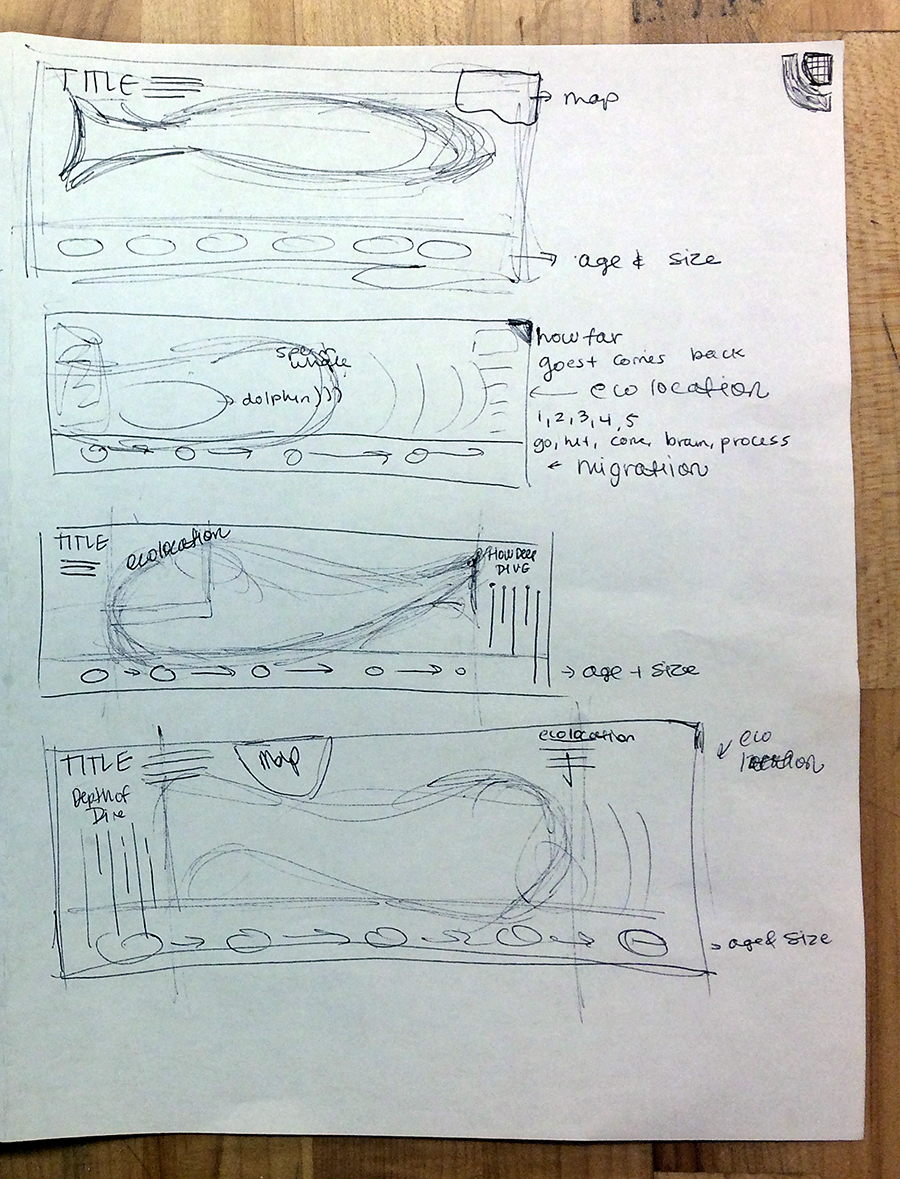
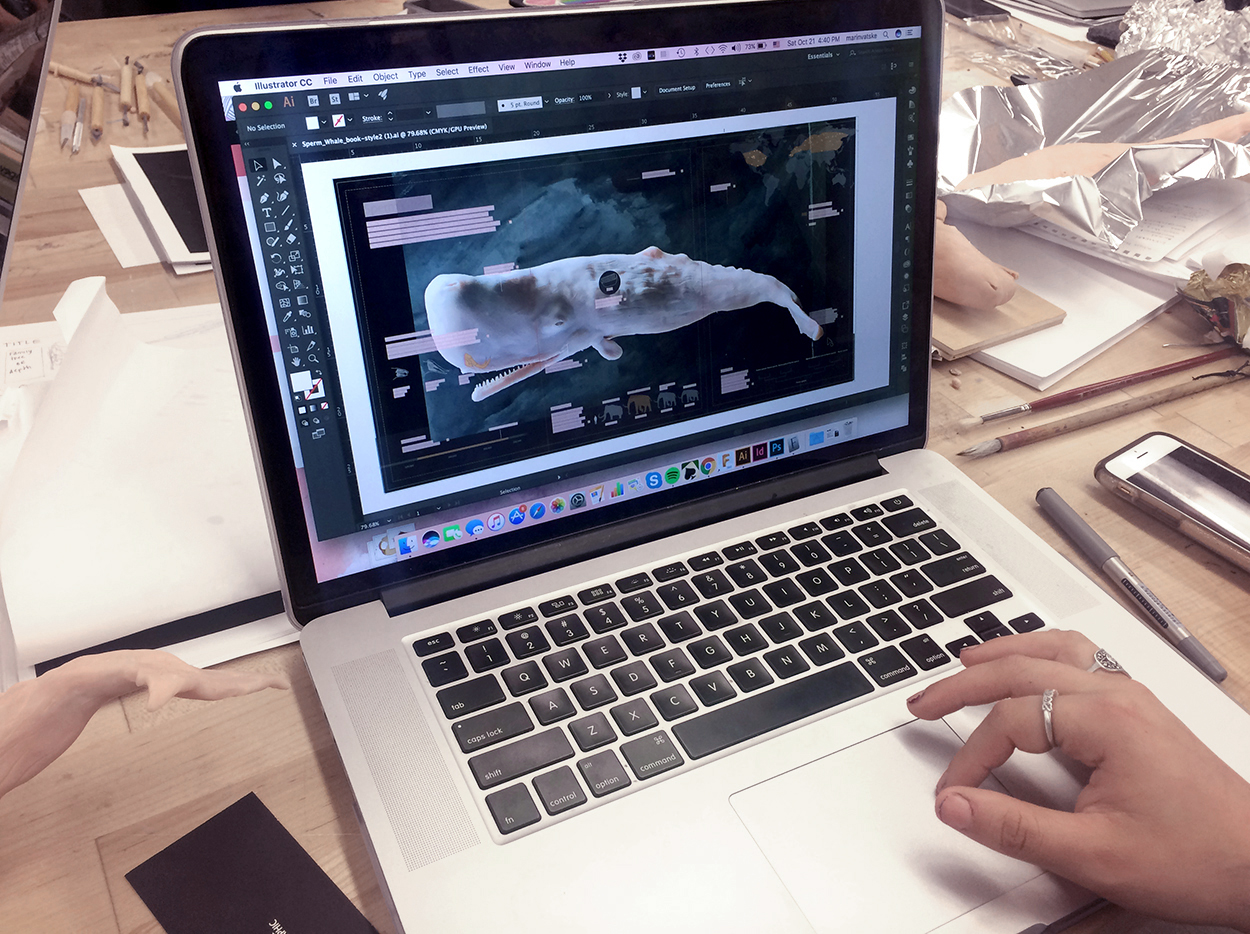
The first stage was to rough out ideas for an infographic. One student’s plans for a sperm whale graphic.

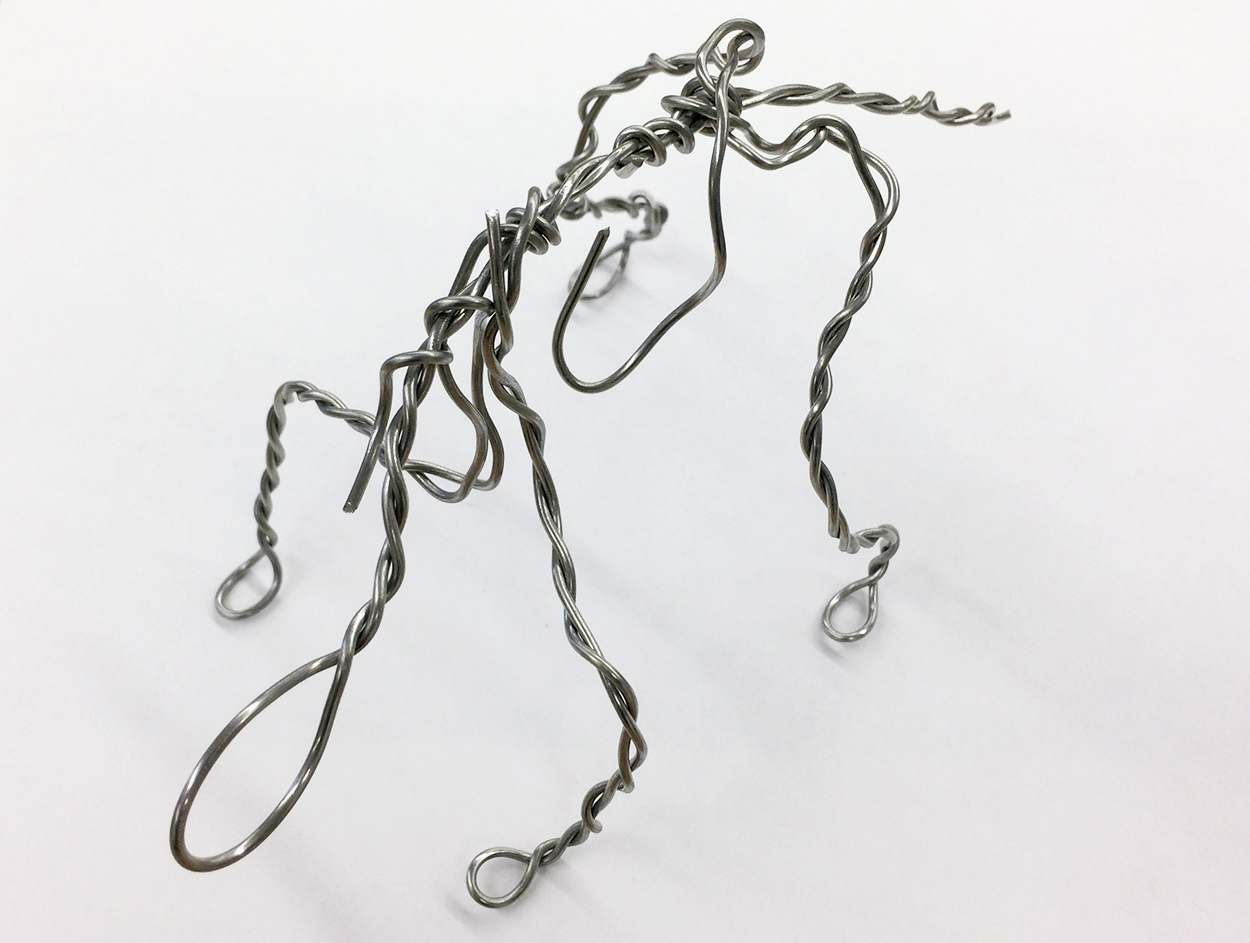
A wire armature was made to closely match the skeleton of the animal. In this case, a triceratops.

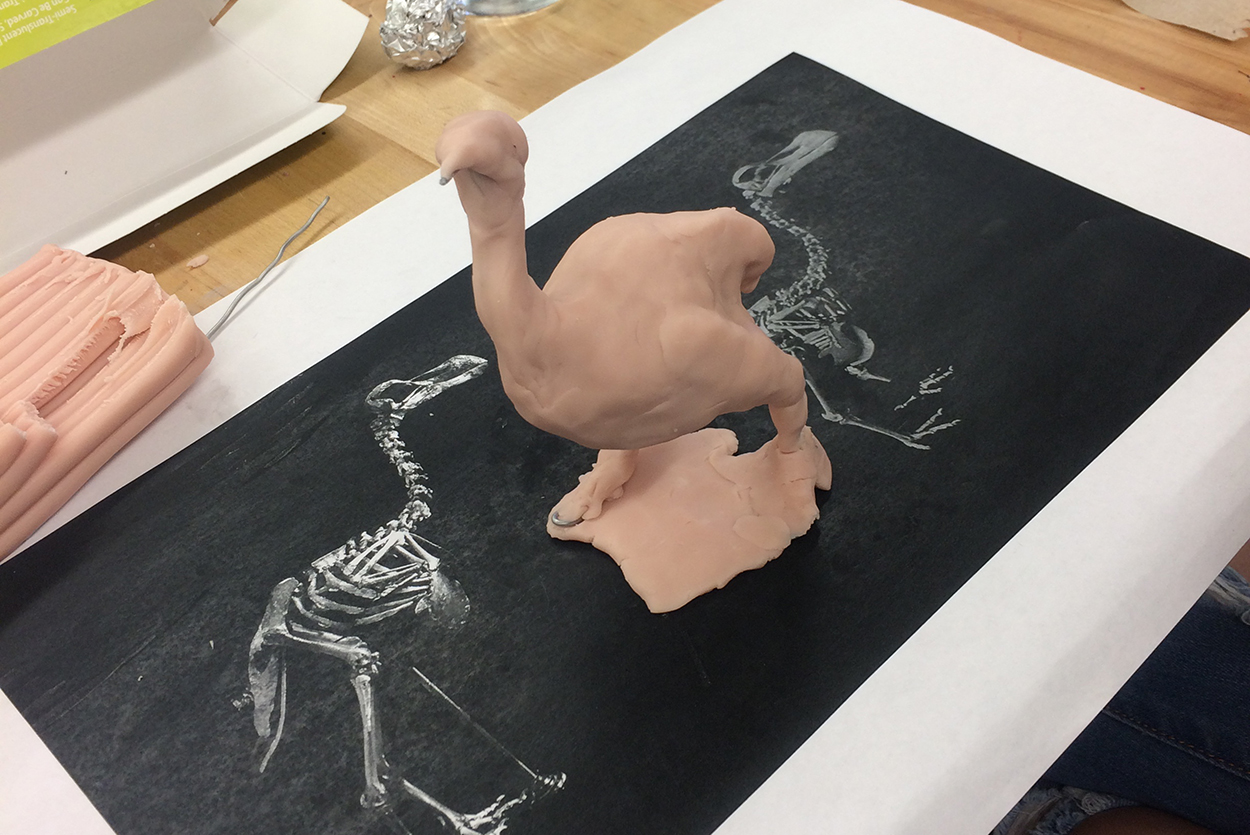
Aluminum foil was used to fill out the form (here, a dodo) before layers of Super Sculpey, a polymer modeling clay, were applied.

Adonis Durado, who was making a video of the workshop, modeling an impromptu portrait of Fernando.

At the end of the first day, the creatures were really starting to take shape. I don’t often see a table of dodos on the campus.

Day Two Refining the models. Adding the fine detail needed some serious concentration.

Small parts, like teeth and horns, were placed into a toaster oven to make them firmer, and easier to apply to the sculpture. The complete model would be hardened later this way.

Fernando showing how to use natural light to bring form and effect to a sculpture.


Photograph by Kisha Ravi.

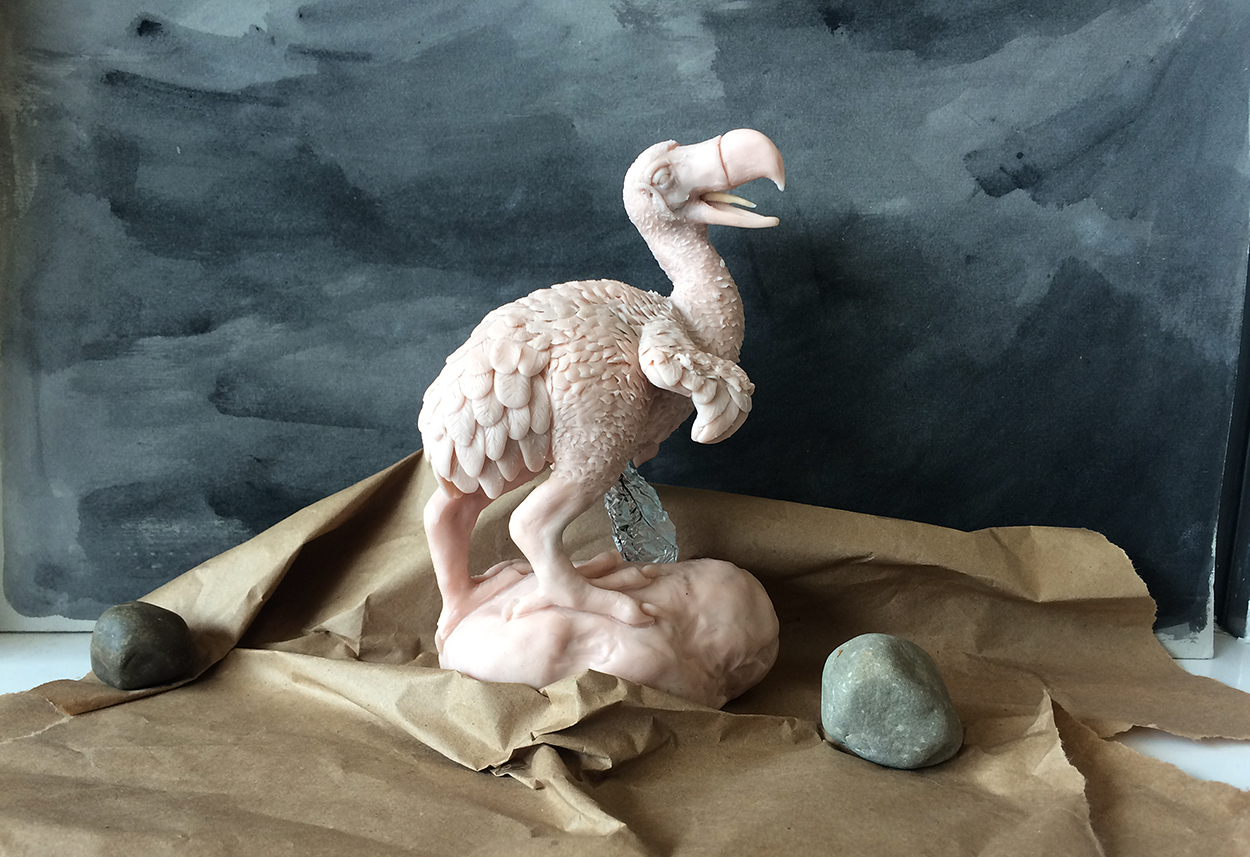
A painted background, and some crumpled paper that will later become a rocky area in Photoshop.

Fernando tells us how a stop-motion animation of a whale can be created with simple paper shapes.

Students watch the master using his painting technique. There wasn’t enough time to paint the models, but color will be applied, either manually or in Photoshop, after the workshop. Several students told me that they intend to carry on with the projects, and develop them for their portfolios.

Photograph by Kisha Ravi.

Starting to build a computer version of an infographic.

The workshop was a huge success. In no small part because Fernando put enormous effort into working with each student to help them move forward. It was tiring for me just to watch him assisting all those students for hour after hour. Thank you, Fernando!

Photograph by Kisha Ravi.

My overall impression: This is one of the best creative experiences we’ve ever offered our students. Fernando is a craftsman with a passion for information and explanation. And one of the nicest people in our entire field.

The School of Visual Communication: https://www.ohio.edu/viscom/
The School of Art + Design: https://www.ohio.edu/finearts/art/

VisCom on Instagram: https://www.instagram.com/viscomohiou/
Kisha Ravi on Instagram: https://www.instagram.com/kisharavi/

The $1,263 paintbrush

THE COMPLICATIONS OF EXPENSIVE ART EQUIPMENT.

I love a really good paintbrush, but I’ll never be able to buy the Da Vinci Maestro Kolinsky, size 50. Yes, it’s a very large brush, and of amazing quality, but the lowest price that I can find is $1,263 (on Amazon: goo.gl/XBfneP), and that’s with a 22% discount. Original price: $1,612.57.

Whether it’s worth that much money is another discussion, but there’s a story behind this type of brush. The brand is made in Germany from what is called winter male kolinsky red sable hair, which is not from a sable’s tail, but from the tail of the Siberian weasel. There is currently a ban on importing this type of hair into the US as the weasel is on an endangered species list (although to be fair, it’s low in that ranking). So if there’s a rush on this item when we get to the holiday season, stock could run out.

The smaller, and more affordable, size 16, Series 35 brush is around $300.

The cute Siberian weasel, which is killed for various reasons, not just for it’s tail hair.


Photograph © feathercollector/123rf

Some Da Vinci Maestro brush types that I’m only showing because I like good paintbrushes so much.

Pencraft

THE ENDURING APPEAL OF THE FOUNTAIN PEN.


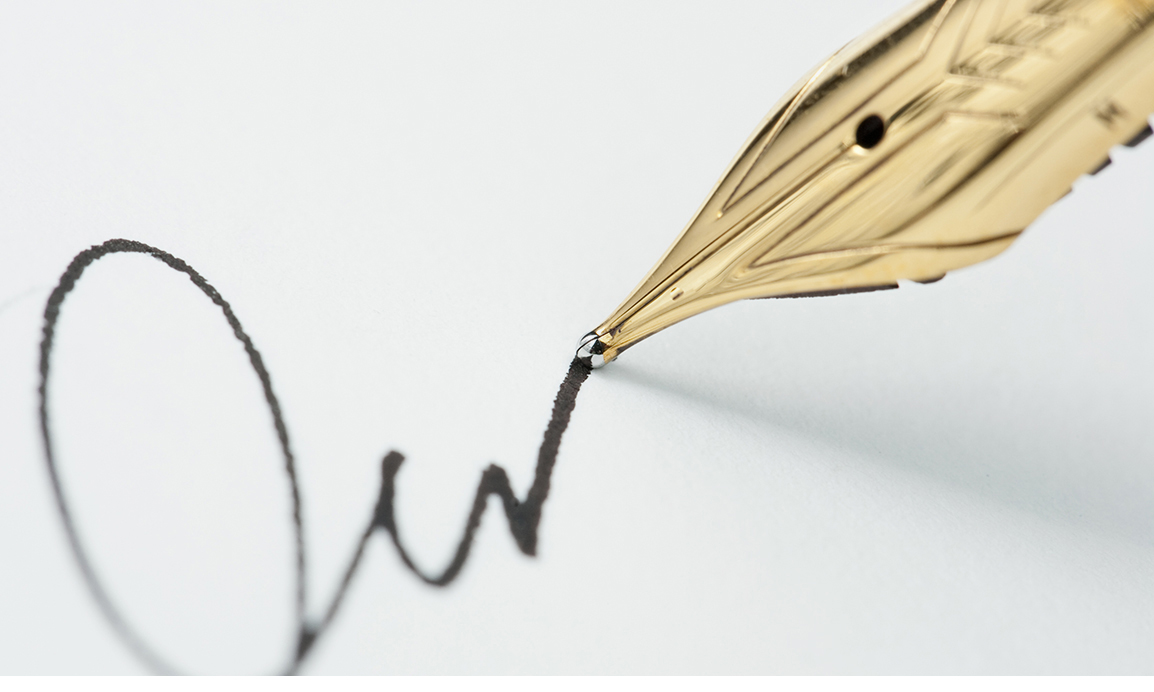
(Photograph: iStock.com/AmbientIdeas)

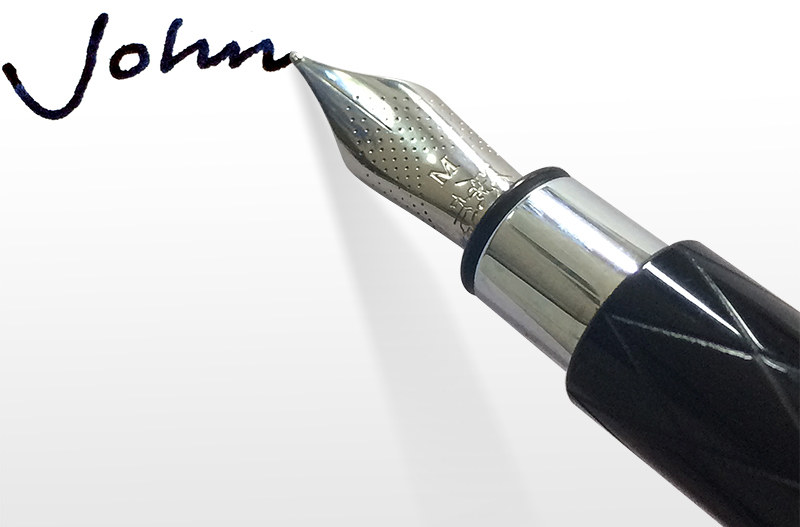
There’s something immensely satisfying about writing with a fountain pen, especially in our ballpoint-driven world. Ink on paper with a well-designed pen, like the Sailor below. Hard to beat that. (http://www.sailorpen.com/king-of-pens.html)

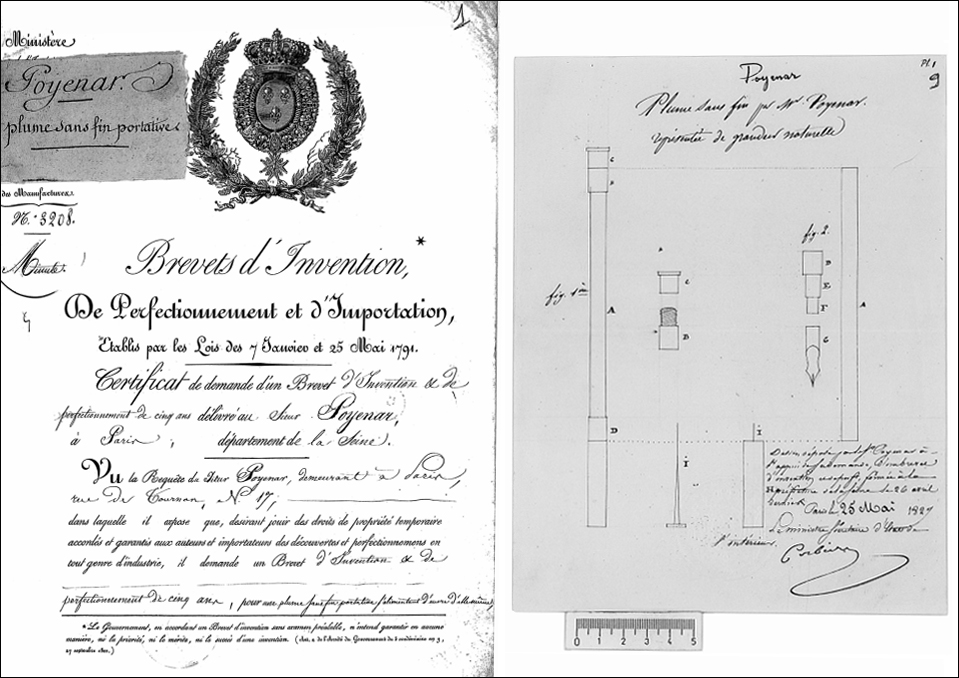
The fountain pen was invented in 1827 by Petrache Poenaru, who upgraded the dip pen by adding an internal reservoir of ink.


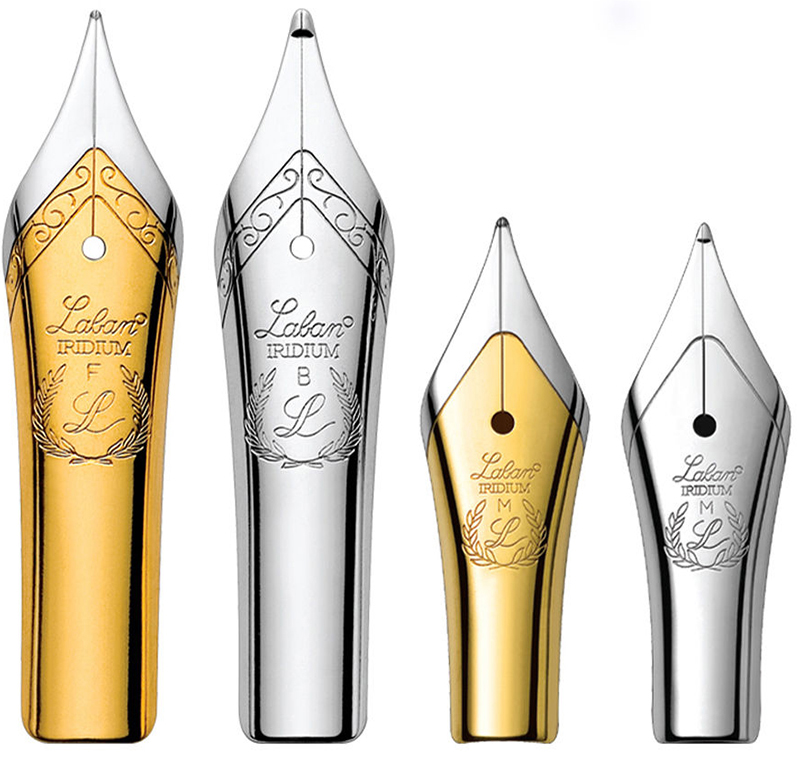
Beautiful nibs by Laban.

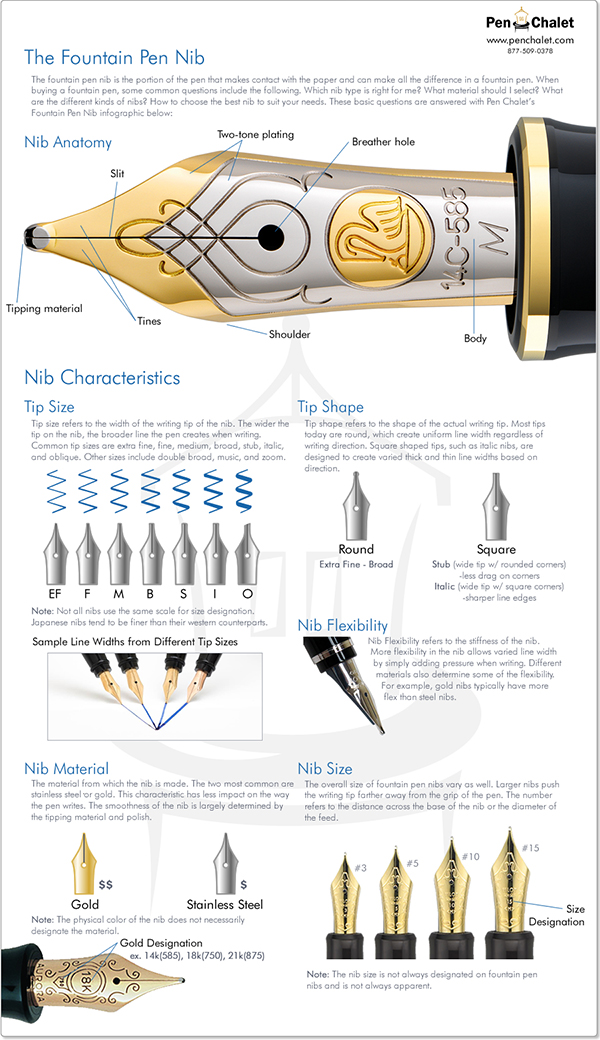
An infographic that tells us everything we probably want to know about fountain pen nibs. Click on the image for a larger version. (https://www.penchalet.com)

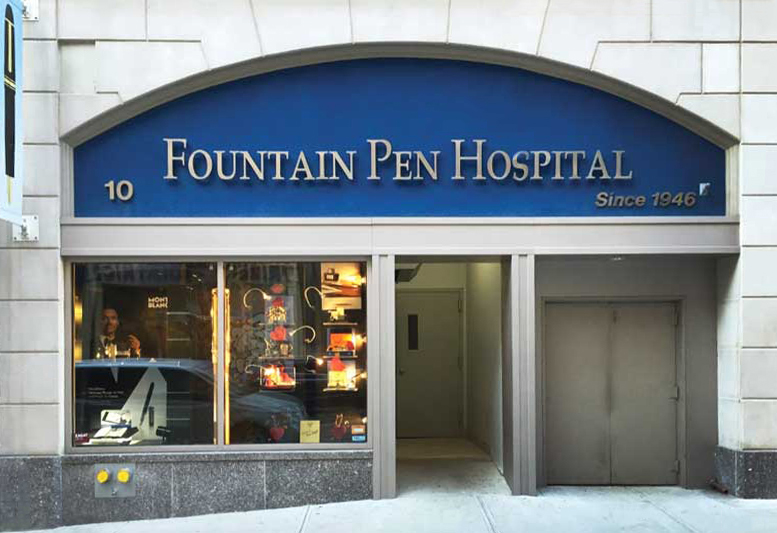
In New York City, there’s the Fountain Pen Hospital. You can get an antique pen repaired, or buy a new one. (http://www.fountainpenhospital.com)

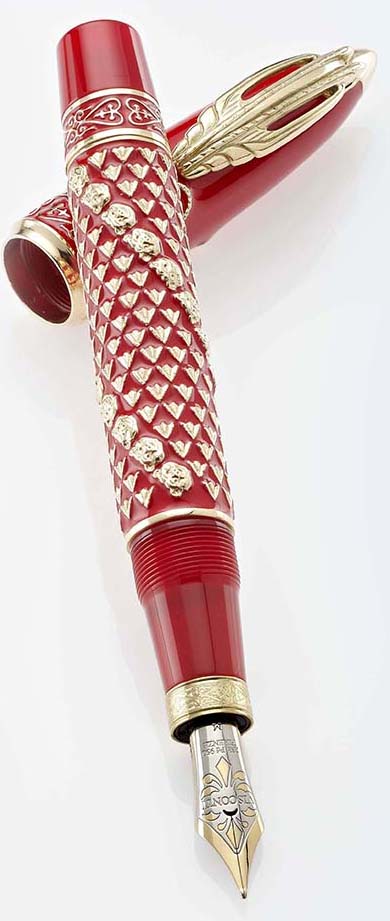
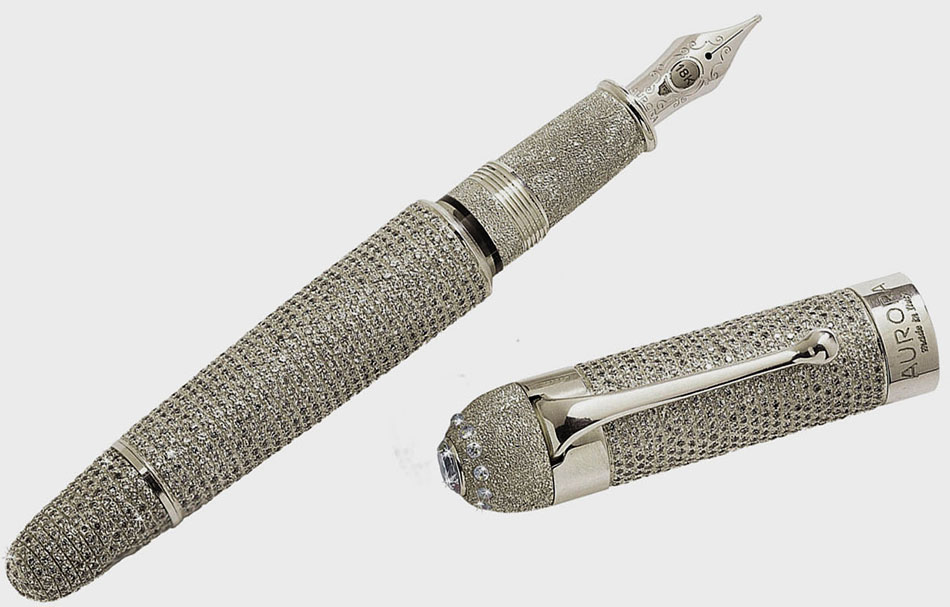
For people with truckloads of money, there are some alarmingly expensive examples. You can whip one of these out when required to sign a contract, and dazzle everyone with the gold and diamonds.

The Golden Man HRH by Visconti (above), costs $44,000. Encrusted with 250 white diamonds (2.5 carats).

This one might need to be kept in a bank vault. The Aurora Diamante is a mere $1.5 million. It’s embedded with 30 carats of diamonds, and only one is made per year.

Fake data viz

INSTANT VISUALIZATIONS.

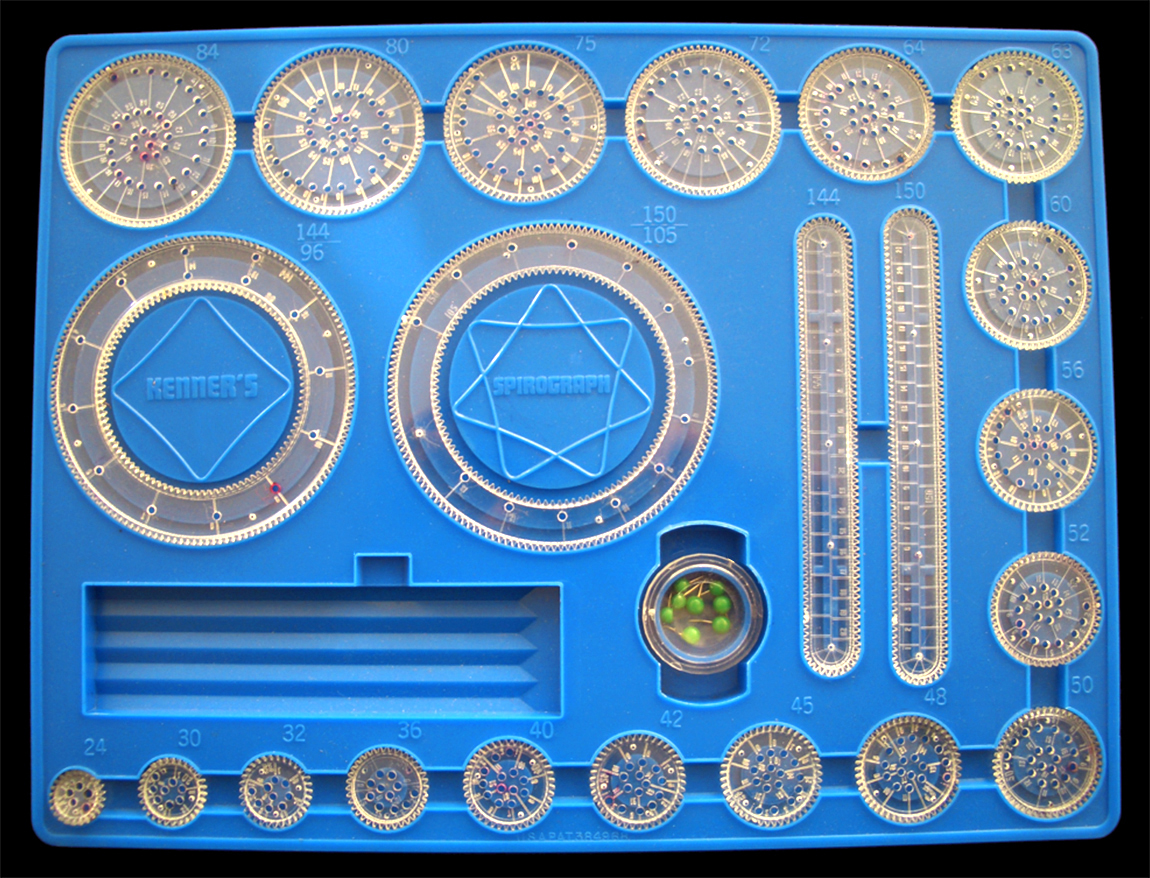
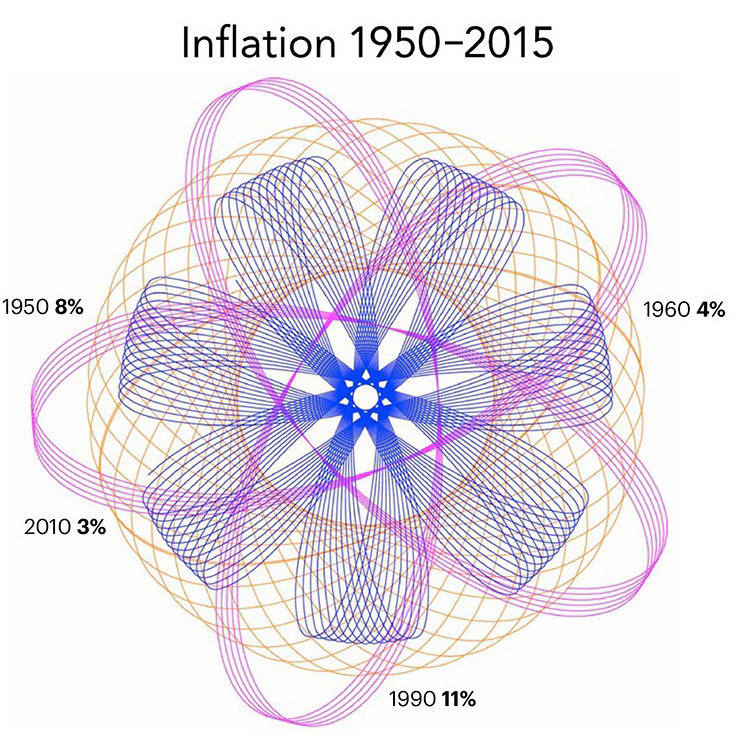
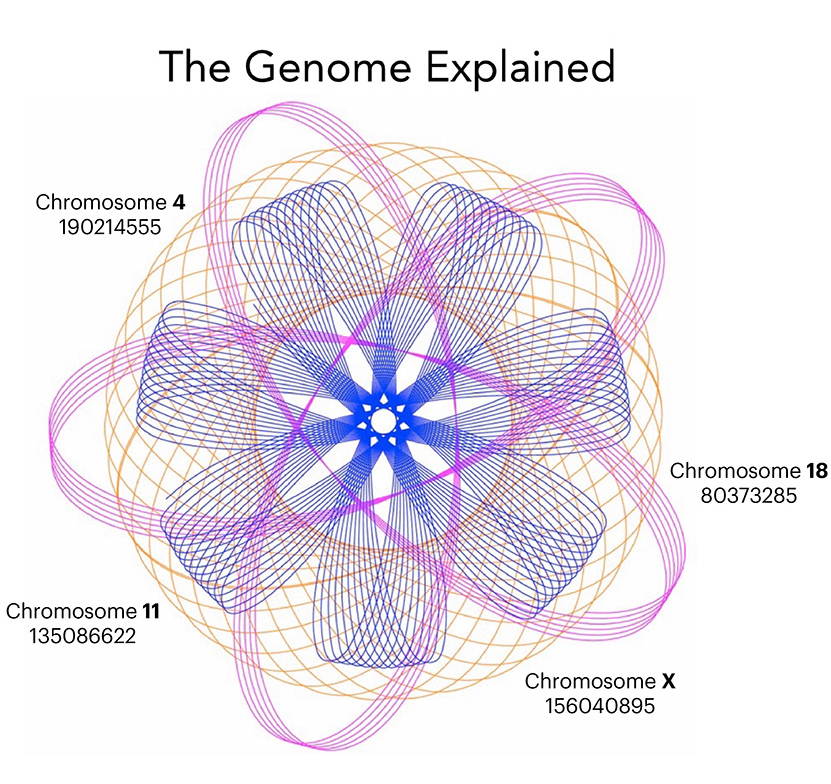
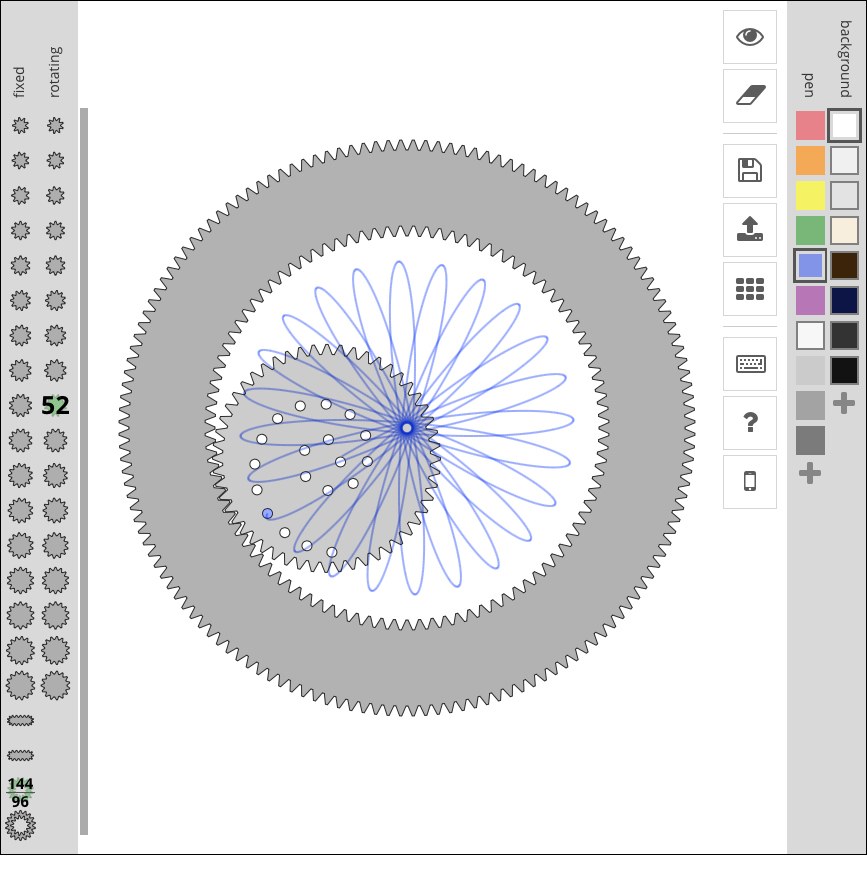
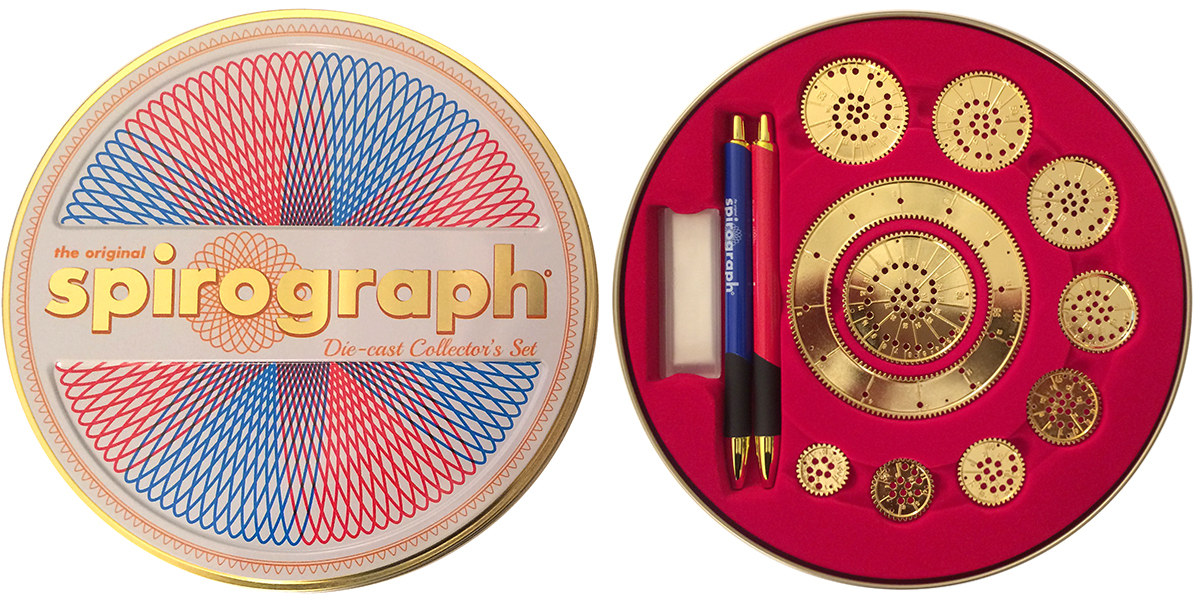
If no one looks too closely, you might get away with this approach. Buy a Spirograph (my set is shown above), select some wheels, and start drawing. Then add a headline and some informational-looking labels. You’ve created an image that looks something like a real data display, and it might even be the equal of some of them, in terms of being informative.

You can always use the same image for something else, and finish work early. With any luck, no one will ever notice.

An online generator: http://nathanfriend.io/inspirograph/

I recently received this diecast anniversary souvenir version as a gift. No need for data viz software. Here I come!


Tools of the trade (2)

MORE EQUIPMENT FROM THE DARK AGES.

My first tools post is the most popular of the 65 posts that I’ve made so far. So following the Hollywood tradition, there has to be a sequel. Here are some more of the common things that we used to have in the graphics studio. Thank you to everyone who gave me an idea for this. Of course, there are many more tools that I haven’t covered, so I will do yet another post about them in the future.

Airbrush
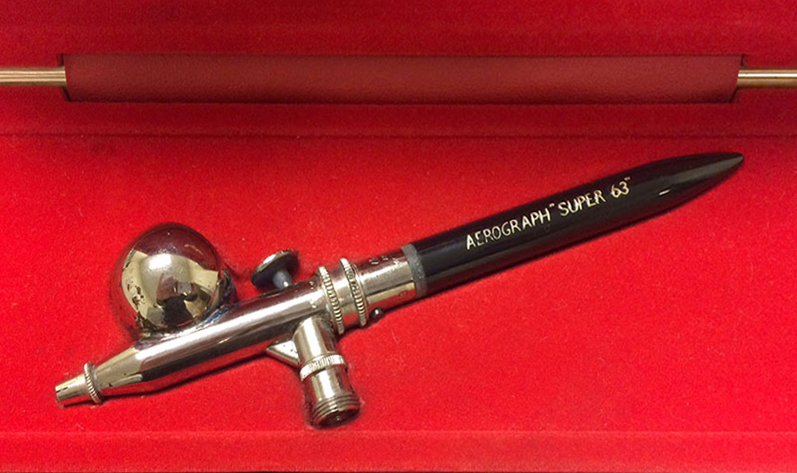
This is the model that I used. The DeVilbiss Aerograph Super 63. I had many exciting moments spraying paint and ink.

Special templates
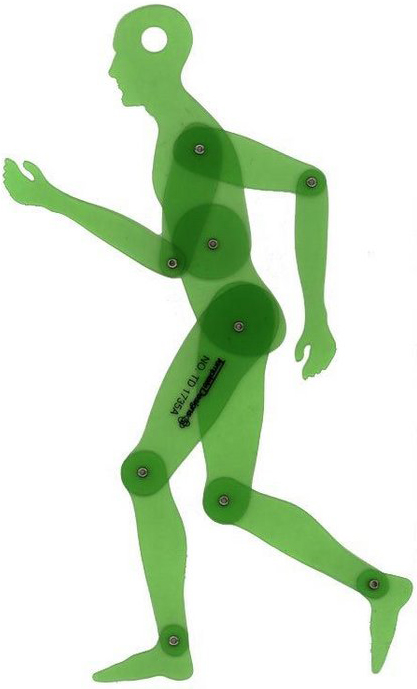
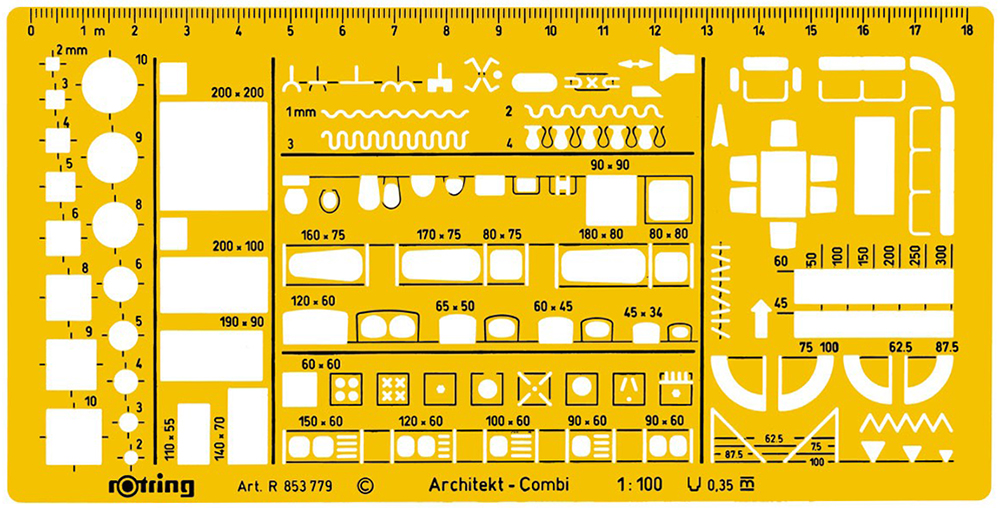
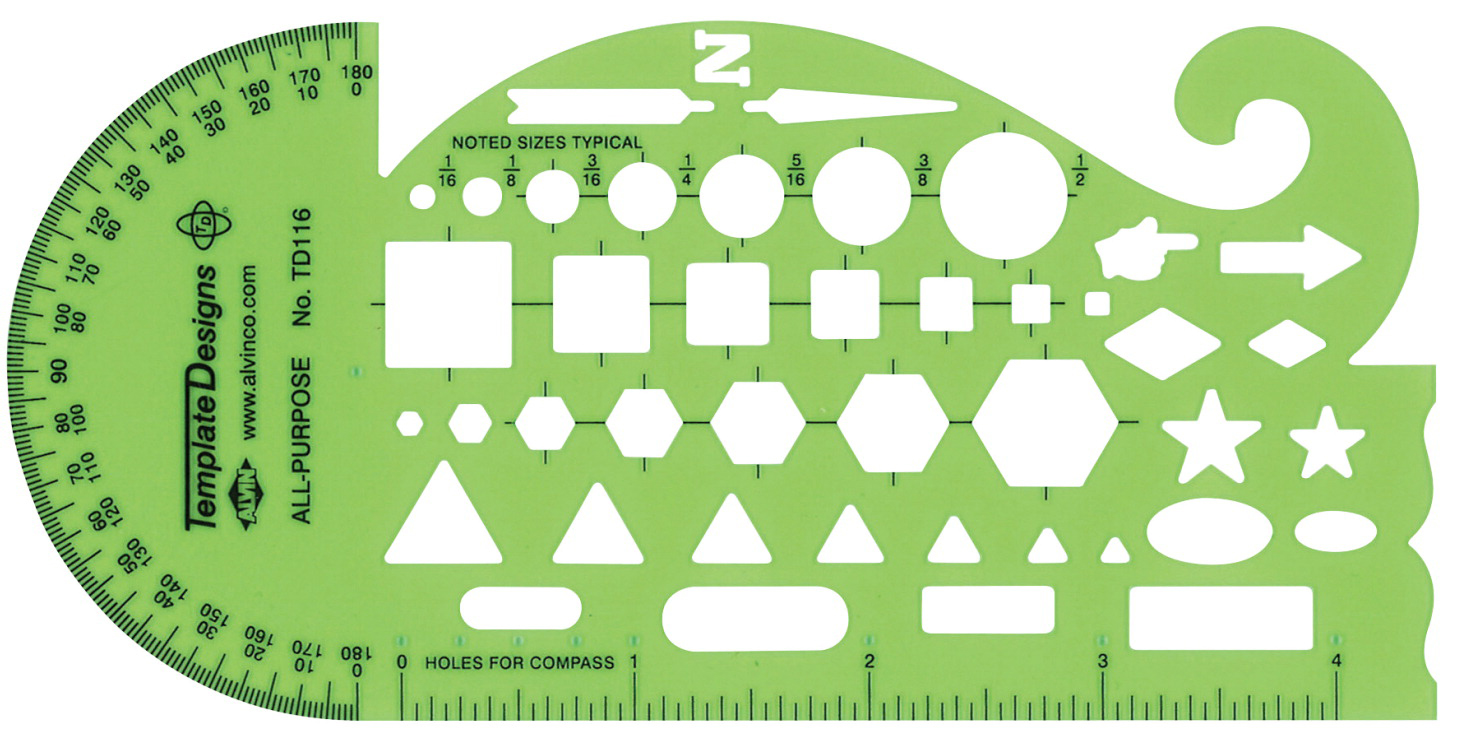
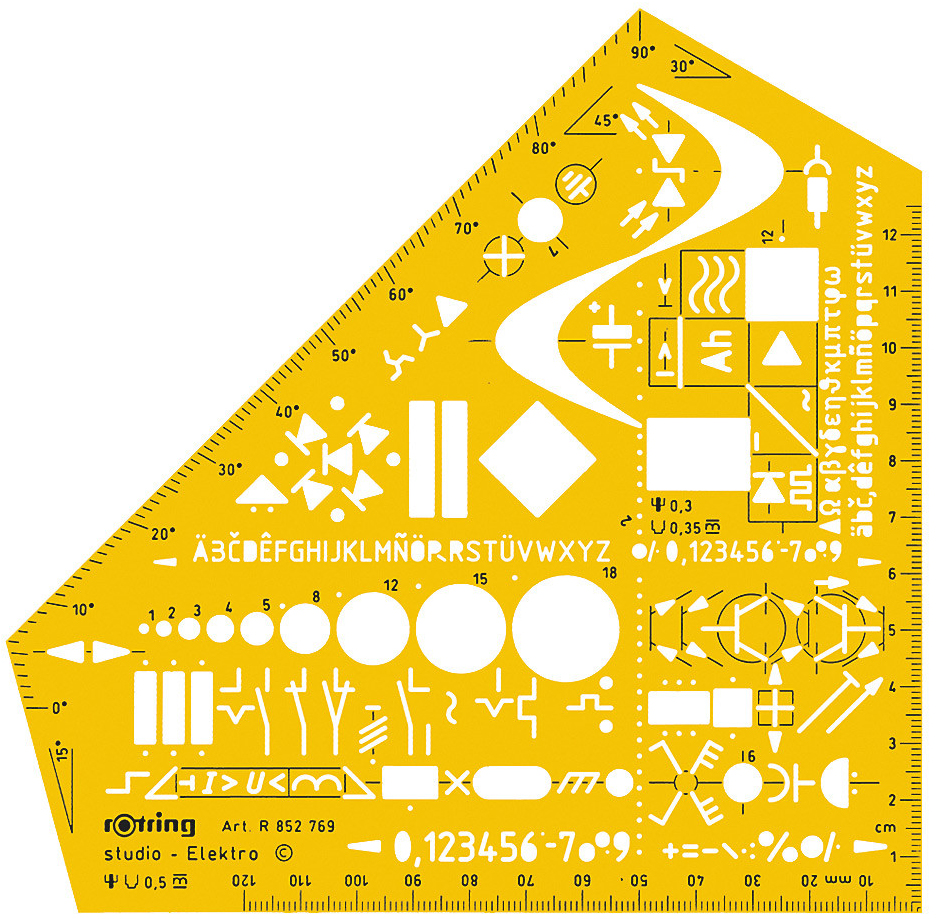
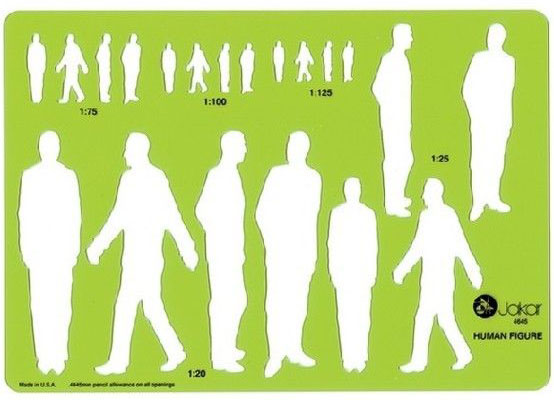
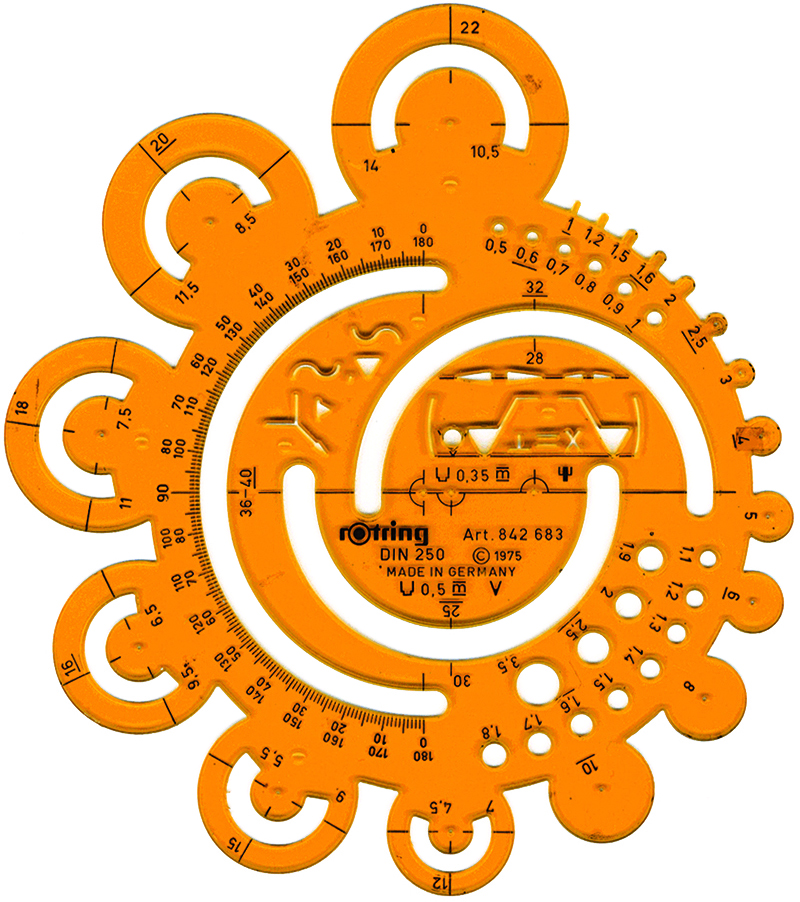
It wasn’t all about ellipses and circles. There were many other types, for specialized use.

Map wheel
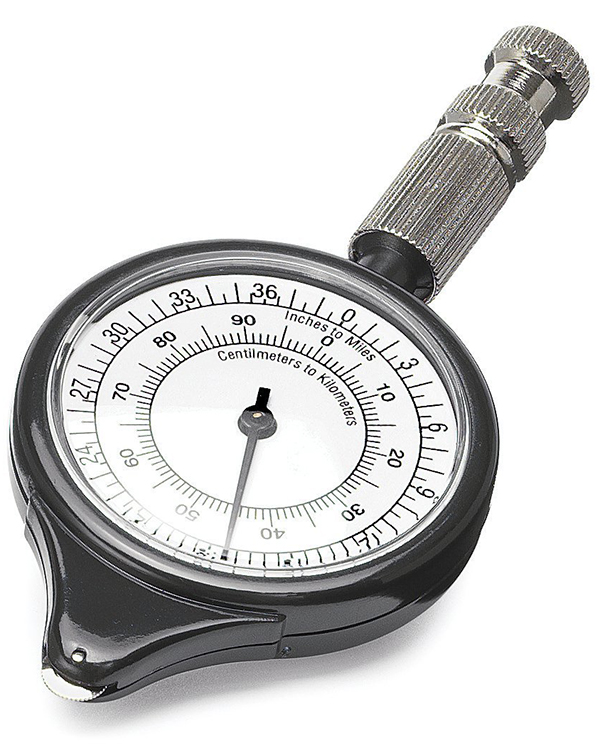
For measuring distances on maps. You would set the scale, and start rolling it between places. Remember, there was no internet!

Graphic tape
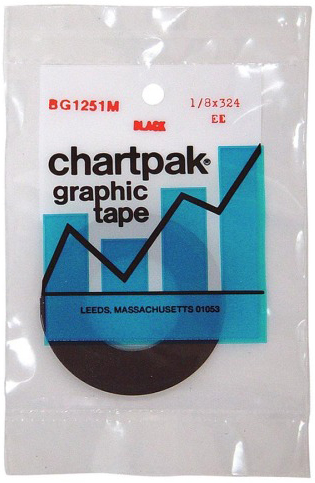
Adhesive-backed tape, available in many widths and styles. We could potentially create almost perfect rules and boxes using a knife such as the one shown below.

Surgical scalpel
We were like surgeons. Well, kind of. The Swann Morton scalpel is frighteningly sharp. Of course, there were accidents. (The X-Acto knife was popular in the U.S.)

Rubylith film
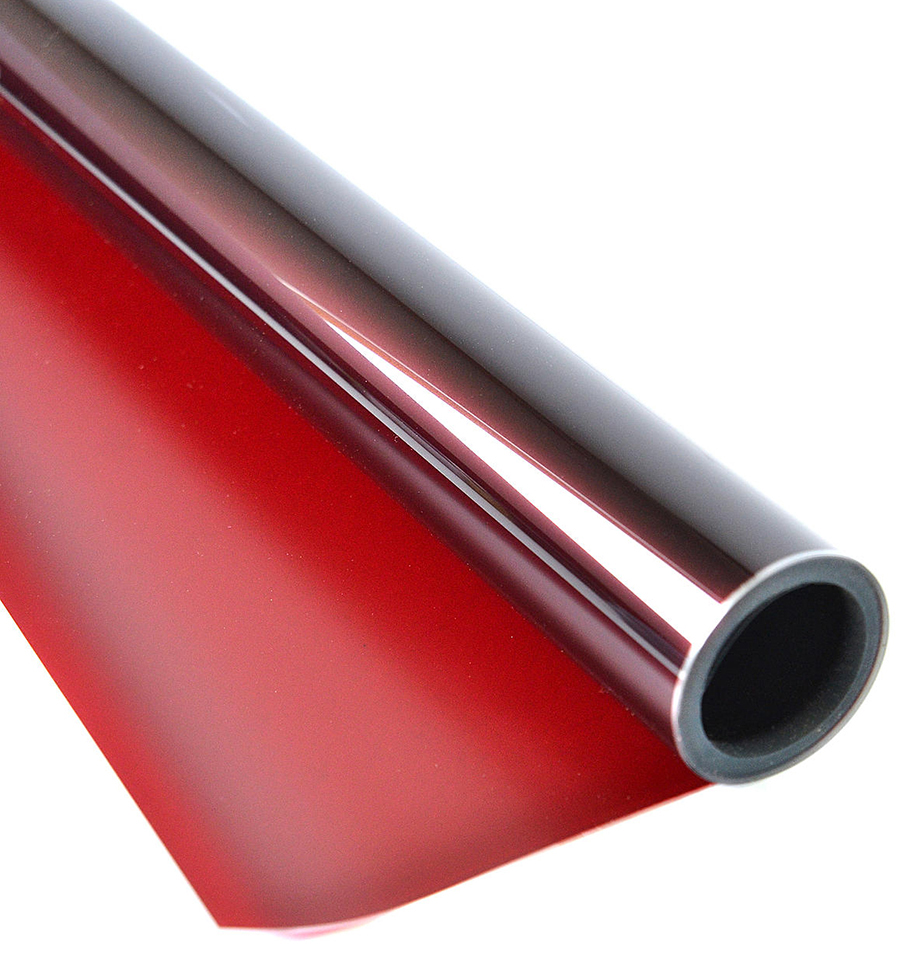
Shown in previous posts about mechanical art. Essential for creating intricate overlays that would be converted to process colors for printing. I loved cutting it with the scalpel, and peeling back the red top layer. I would pretend that it was a surgical prodecure: “Hand me my scalpel!” “Yes, doctor”.

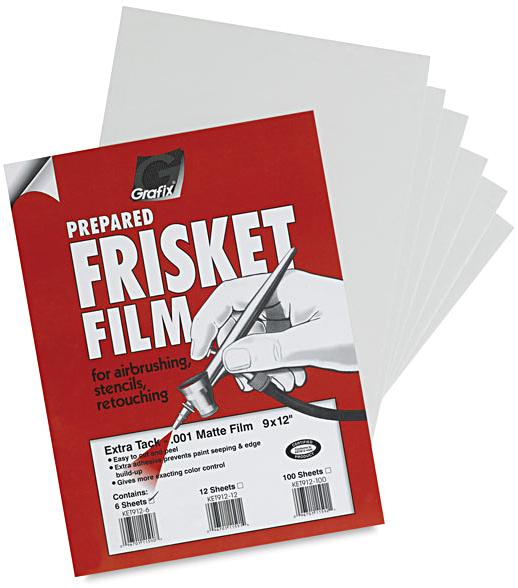
Frisket film
Adhesive film for masking when airbrushing. Did not damage the delicate paint surface.

Rubber cement
Used for sticking down anything that was on paper. Surplus glue could be easily cleaned up with a ball made from… rubber cement. In the U.K. we used “Cow Gum”. There is absolutely no connection to the large animals that we see eating grass in fields. The glue was manufactured by the F.P. Cow Company.

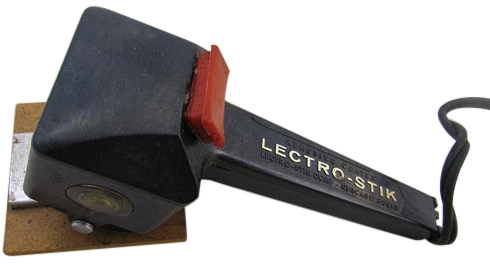
Waxer
Hot wax largely replaced rubber cement where I worked. You could reposition things easily. I love the name: ‘Lectro-Stik”.

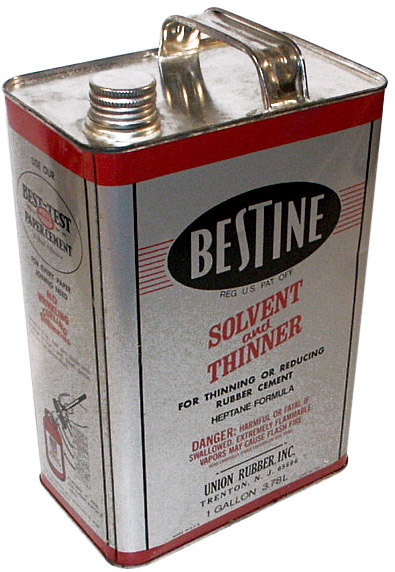
Solvent
Good for cleaning up artwork and equipment. We used to carelessly leave the cap off, and I used to smoke. I have no idea how I avoided blowing up the graphics department.

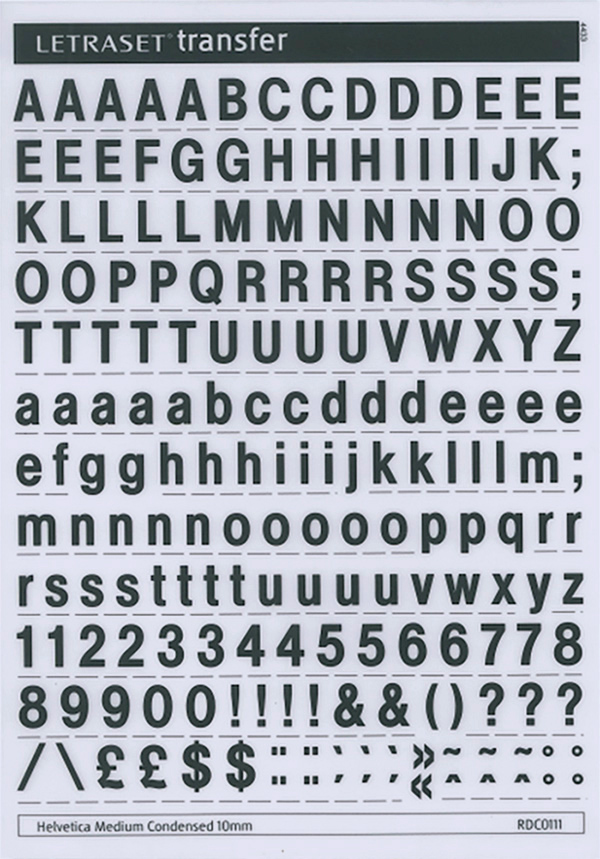
Letraset
One way to get some typesetting was to rub down each individual letter from a dry-transfer sheet. It was slow, and really only practical for headlines. We had a stack of sheets with rarely used characters on them. “Anyone have any vowels in 24 pt Helvetica?”

Railroad pen
For drawing roads. Try using this when you’ve had a few drinks.


The dawn of digital

COMPUTER INFOGRAPHICS ARRIVE ON THE SCENE.

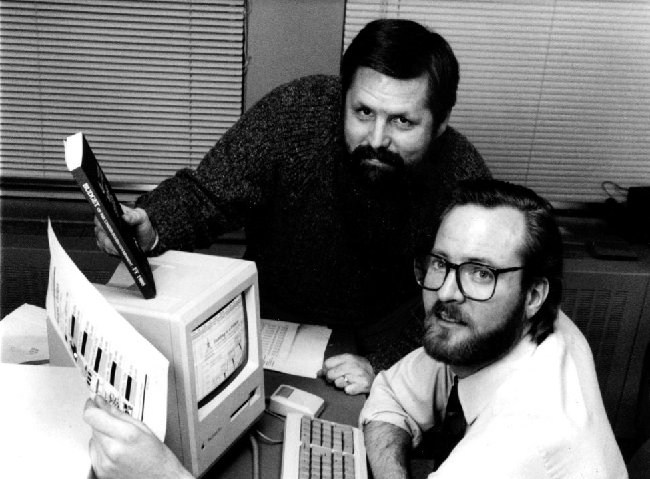
A guest post by a digital news graphics pioneer, Karl Gude, who is now a professor in the College of Communication Arts and Sciences at Michigan State University. Karl is Director of the Media Sandbox.
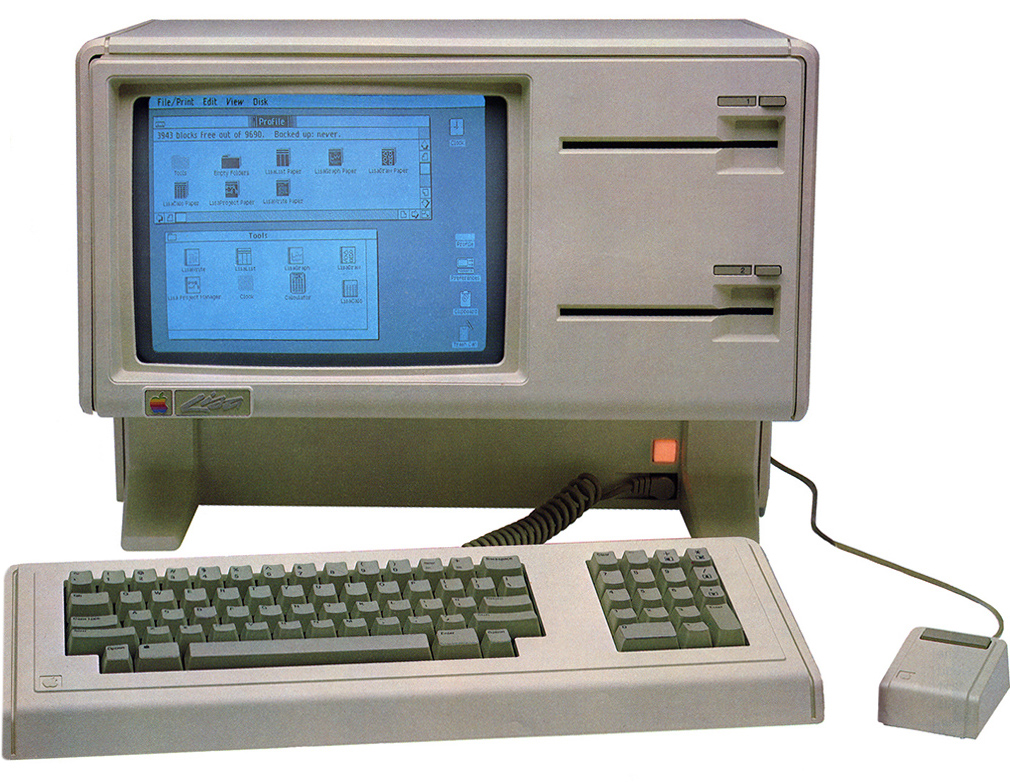
(Above: State-of-the-art in 1985, the Apple Lisa. It cost $24,000 in today’s money.)

Apple to the rescue

Grrrr… As a news artist working in the late 1970s and early 1980s, I hated plotting graphs by hand, like the ones below, (my boss wanted me to make charts like “Nigel Holmes in Time!”), and I made a lot of them. My fingers were black with ink and nicked by X-Acto blades. But by the mid ‘80s, there was a bright light on the horizon: Apple was making computers that could plot a graph with the click of a mouse.
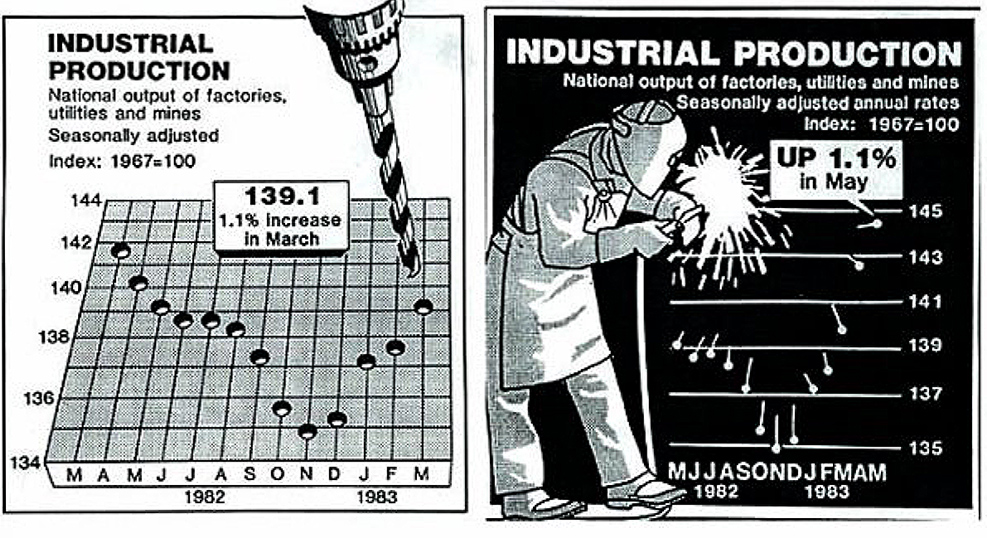
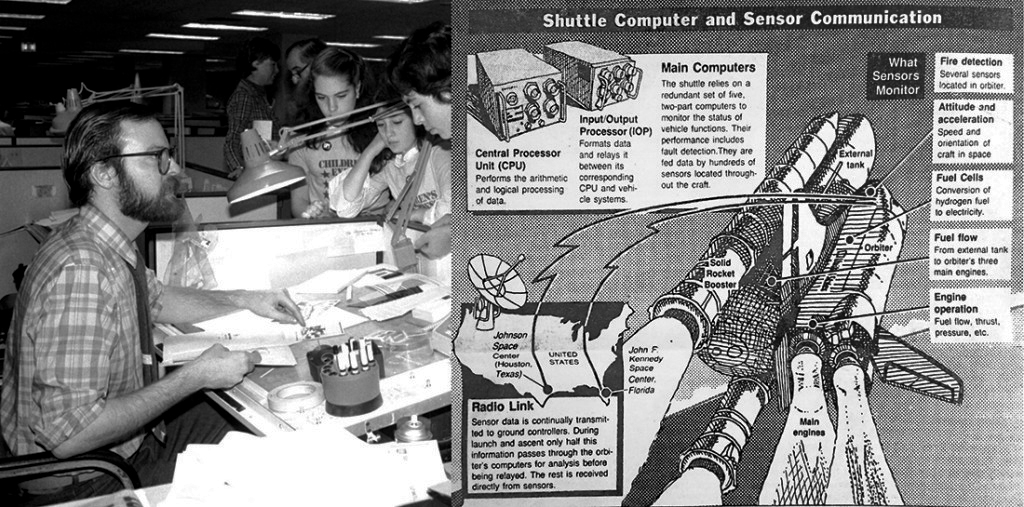
United Press International in the 1980s. All news graphics were drawn by hand.

Life with Lisa

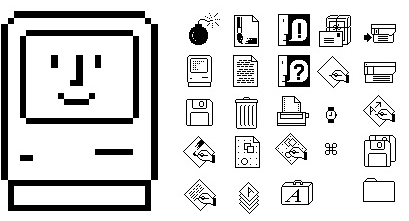
In 1985, I was working for the news agency, UPI, in Washington, D.C., which sold infographics to newspaper clients. We purchased two Apple Lisa computers which could generate simple maps and charts. Apple flew executives out to help us set them up, including Apple iconographer and designer Susan Kare (http://kare.com). Her icons for the operating system are shown below. Apple was excited that the news industry was interested in their products, and if UPI used their equipment, our 1,600 newspaper and TV clients would also have to use it to edit our graphics, if only to delete the byline!
Back to analog

I moved to the New York Daily News as their News Graphics Director in 1986. Unfortunately, it was back to the drafting table, and the old ways of doing things, but not for long. The editor was against spending money on graphics technology, but he agreed to allow me to rent one Apple Macintosh, or Mac (a bit better than the Lisa for graphics), to create infographics for a special series we were doing on transit in New York. The Mac was a crowd-pleaser, and when the editor saw what it could do he allowed me to purchase six of them. Out went the art tables, and in came the complaints. Most of the staff didn’t like this new way of making graphics and drawing, but before I could see how it all turned out, I moved to the Associated Press.

The Associated Press goes digital

Again, drawing tables! But, AP was already considering Macs, and the transition from drawing tables to computers happened quickly. I felt sad though, at the sight of about 12 battle weary, ink-stained and cut up drawing tables lining a long hallway waiting to be shipped to a warehouse. They were replaced with flat desks with Macs sitting atop 20-megabyte (!) hard drives.
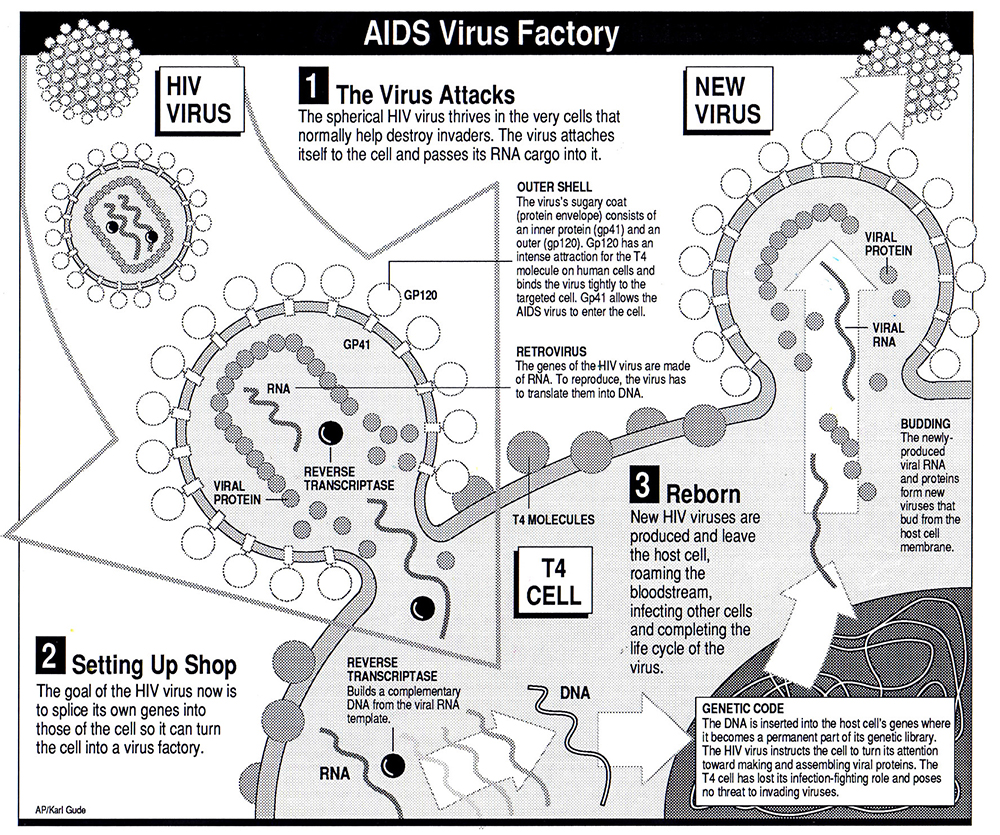
One of my early Mac graphics drawn in Claris MacDraw 1.9.6, March 1988.
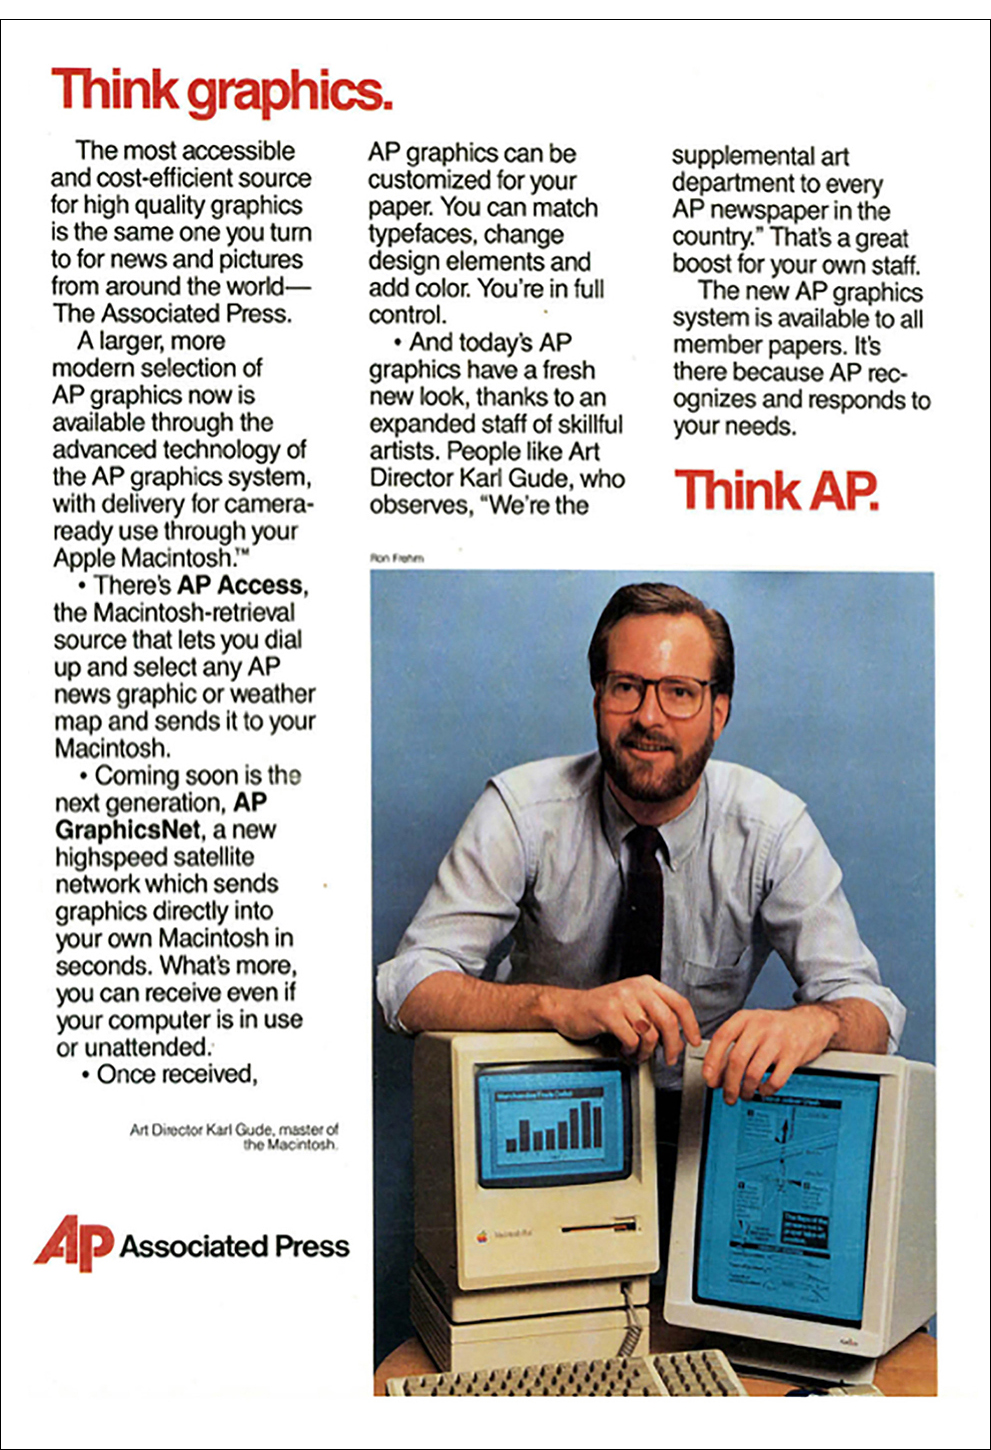
AP leads the way. (Editor’s note: Notice that Karl is “master of the Macintosh”. You can’t beat that.)

The first portable Mac


If you were to shrink every tool on a cluttered drawing table and cram them into a tiny little box, you would have the Macintosh Plus.  Because the computer was so light and portable, Apple designed a backpack so that it could be easily taken places, which was a dream for me back in 1987. As a news artist, it was hard to visit the scene of a breaking news event and cover it live in the same way a photographer could with a camera. The best I could do was to go there and make sketches (visual notes) to use as reference for a drawing that I would complete back at the office.
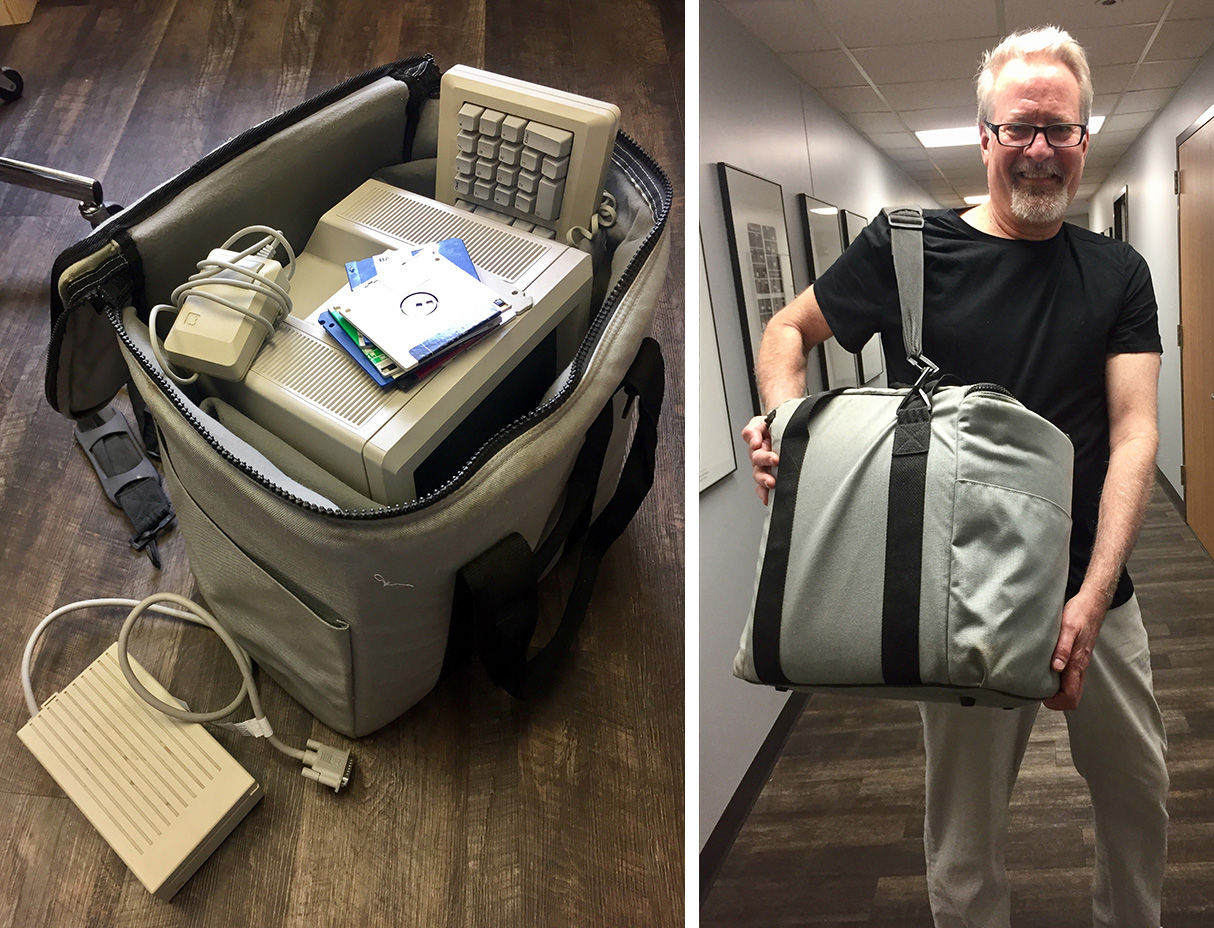
The traveling computer. Just a little larger than an iPad! Karl holding the bag a few days ago.

Before Apple’s swanky backpack existed, I used a cardboard box. There was a terrible accident where a building under construction collapsed killing a number of workmen in Bridgeport, Connecticut, which was about 35 miles from the AP offices in New York, As was the usual drill, I found myself explaining to a photographer, who was rushing to the scene, which photos I needed him to take for me as possible reference for a diagram. It was then I realized that I could go with him! No longer tied down to a drawing table, I threw my Macintosh into a cardboard box, and hopped in the car with him. The Connecticut Post was nice enough to give me a desk to work on (thanks Rick Sayers!), and my Mac was the first one they had seen in action. The diagram I made that night, explaining the process workers were using to build the doomed building (called “lift-slab construction”), was transmitted over a phone modem directly from the Post to AP in New York, who then routed it to hundreds of newspapers and TV stations around the country. Hours were saved in the making of the graphic, which made our subscribers very happy.


Drawing programs: vector or postscript?

In the early days, before scanners came along, drawing on Macs was heavy going. We used the vector-based MacDraw program, which was easy, cheap, and already in every newsroom. Because we were a news agency that supplied graphics to 2,000+ frugal news organizations, we had to stick with MacDraw much longer than we had wanted.

We would sketch out our drawings on paper, and in order to get them into the Mac to finalize them, we followed this process:

  1. Size the drawing (or photo reference) on a copy machine to about the size of the tiny Mac screen.
  2. Trace the drawing (or photo reference) with a marker pen onto clear acetate.
  3. Tape the acetate to the Mac over the screen.
  4. Trace the image with the mouse (much like drawing with a bar of soap) by clicking around the acetate drawing without moving your head (otherwise, your drawing would be distorted).
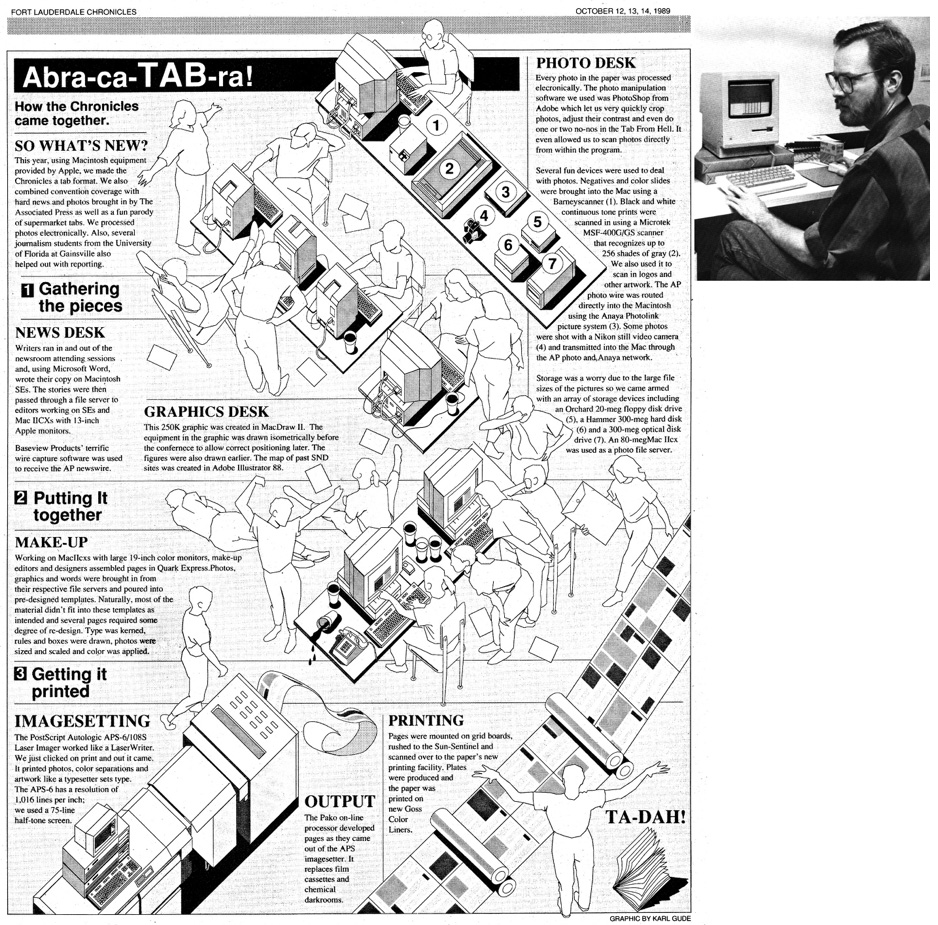
The equipment in this illustration was drawn directly in the Mac SE using MacDraw II, but the people, which my wife posed for, were drawn using the method detailed above.

Covering elections with the Mac meant sending graphics directly to papers through Mac-to-Mac- dial-up instead of over a slow, bogged down photo network. Here I am in D.C. with AP’s Brian Horton to cover the 1988 elections.
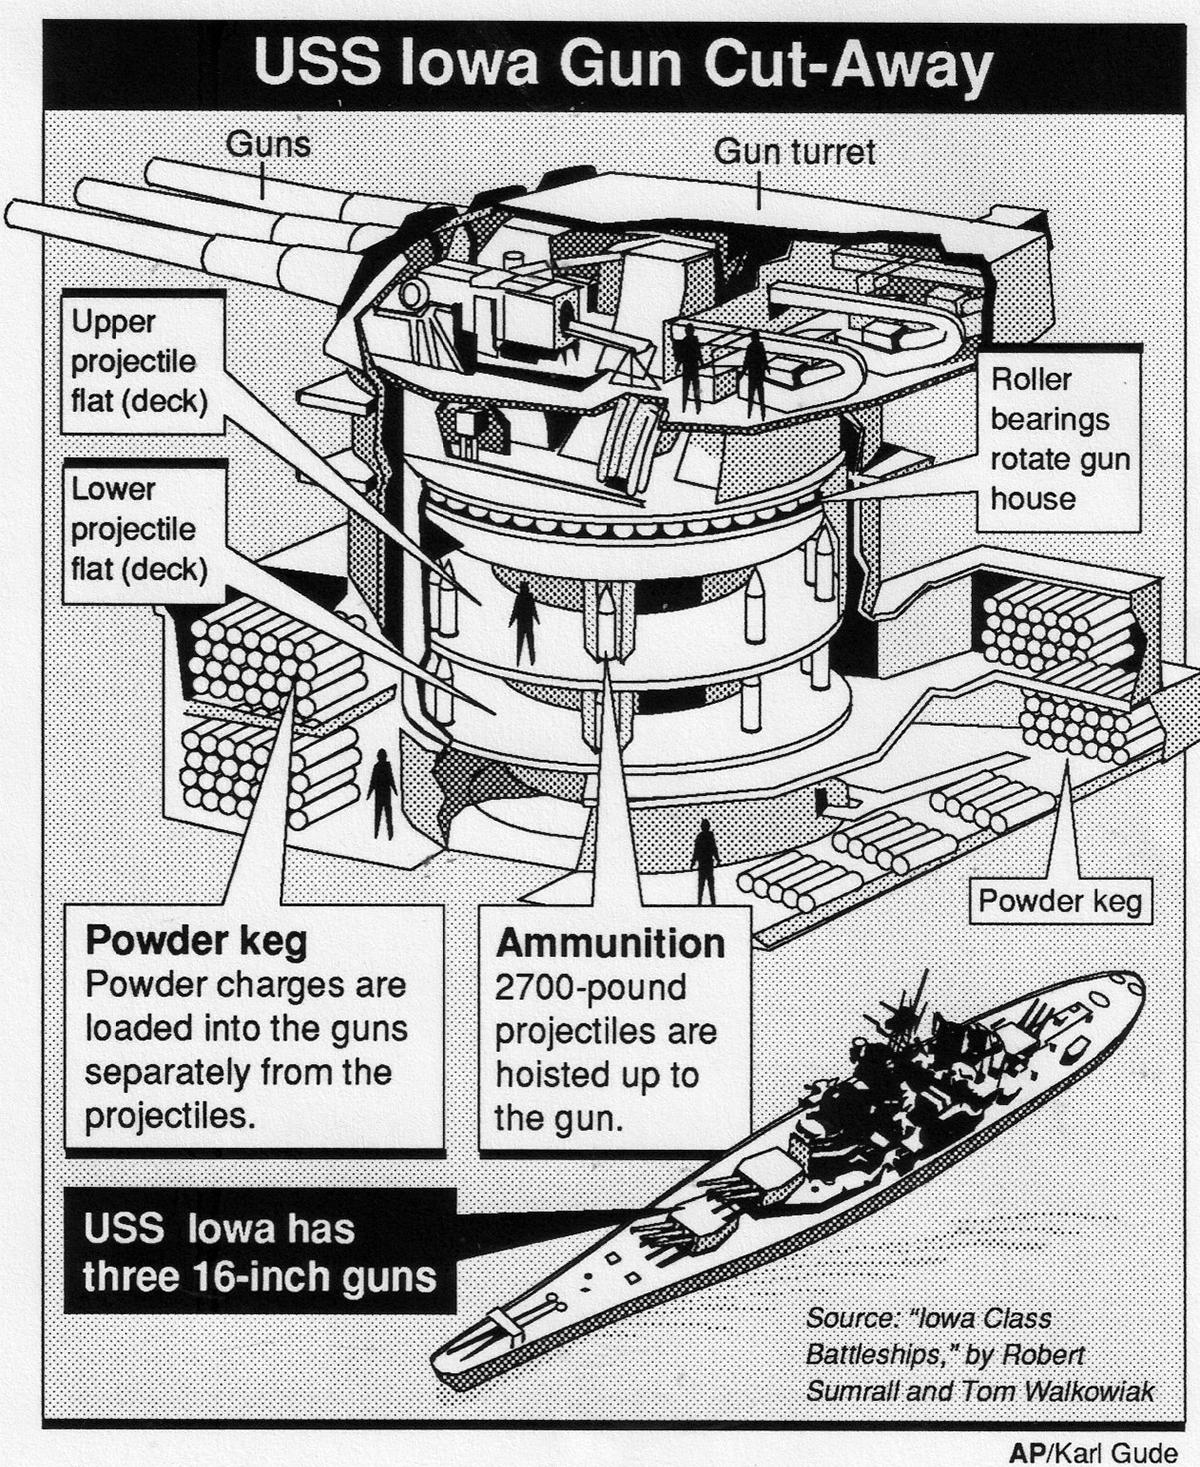
1989 MacDraw graphic, one of my last with that software.

Superior postscript drawing programs like Adobe Illustrator and Aldus Freehand had come out, but for the Associated Press to switch to one of those meant getting all of our news members to purchase and learn it, and most of the smaller papers resisted this expense of time and money. Also, postscript programs couldn’t read vector images, so entire databases of maps and images would be useless. Eventually, though, we had to make the move. We asked both Adobe and Aldus if they could build into their next version the ability to open and edit vector-based images. Adobe said, “That’s against our religion. No.” But Aldus said, “How soon do you need it?” So, we announced to the newspaper world that AP would be switching to Freehand, and that we could get if for them at a discount. I heard that the Adobe guy who made the “religion” comment was fired for lack of vision.
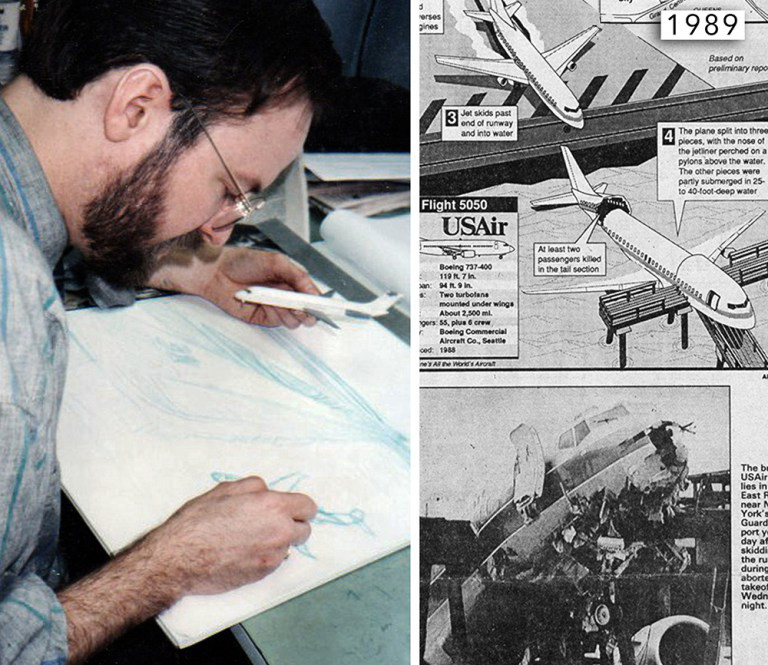
Sketching out a plane crash graphic before drawing it in the Mac. We built lots of aircraft models for reference.

Still, despite all of the awkward limitations, drawing on the Mac still was better than drawing with an ink pen, and pasting a layout with melted wax onto boards before having them photographed and printed. The Mac allowed you to edit your lines and fills, change text easily, move elements around into different layouts, and create databases of elements, like maps, that you could reuse another time. It was heaven.
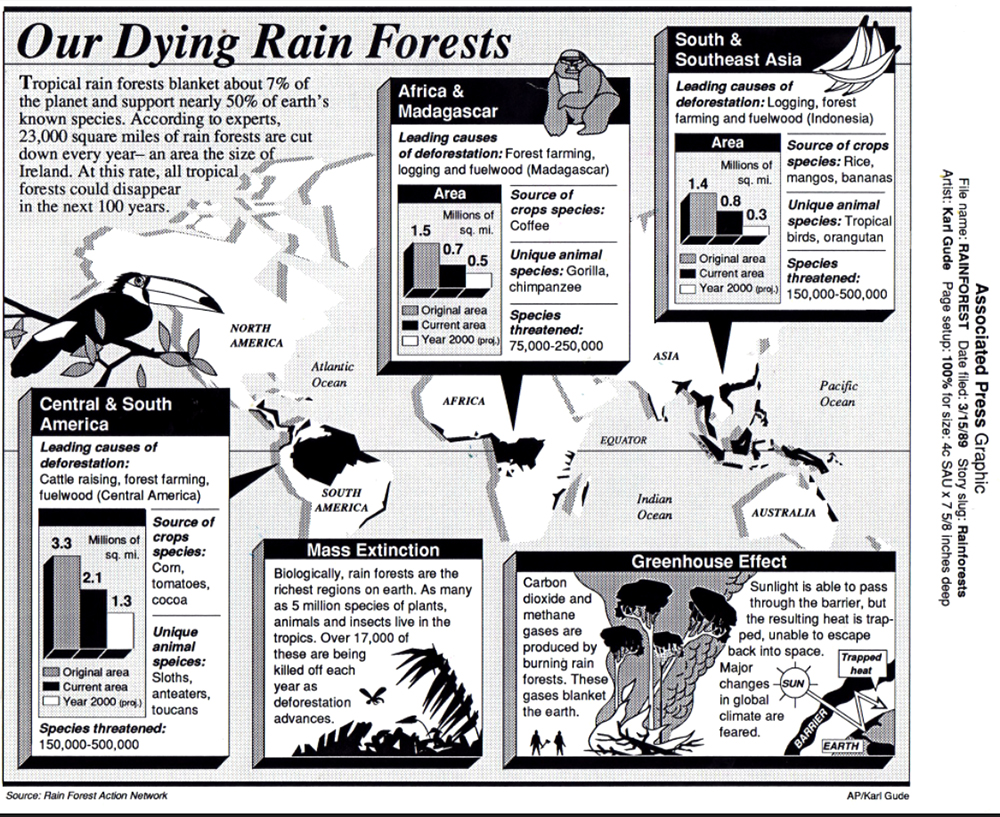
An early Aldus Freehand drawing, 1989. The thick 3D boxes were a bit much. Hey, so were shoulder pads in jackets!
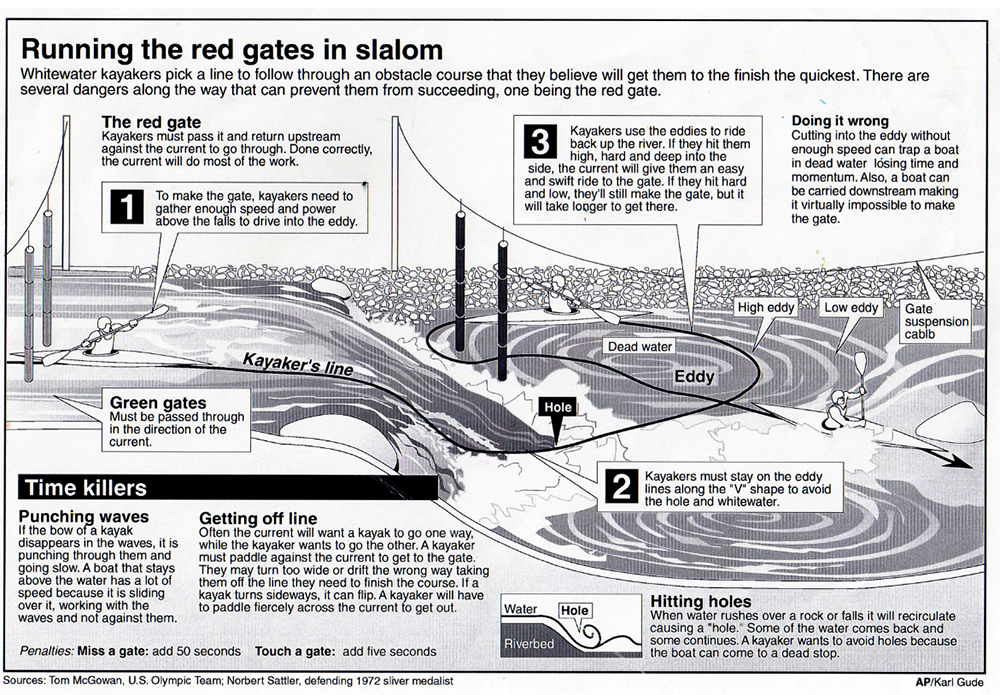
By the early 90s, the Mac and Postscript software, predominantly Adobe Illustrator, had stuck and both were here to stay.
CMYK

ASSIGNING COLOR TO “MECHANICAL” ARTWORK.

This follows on from my post last week about mechanical art: https://www.johngrimwade.com/blog/2017/02/09/mechanical/

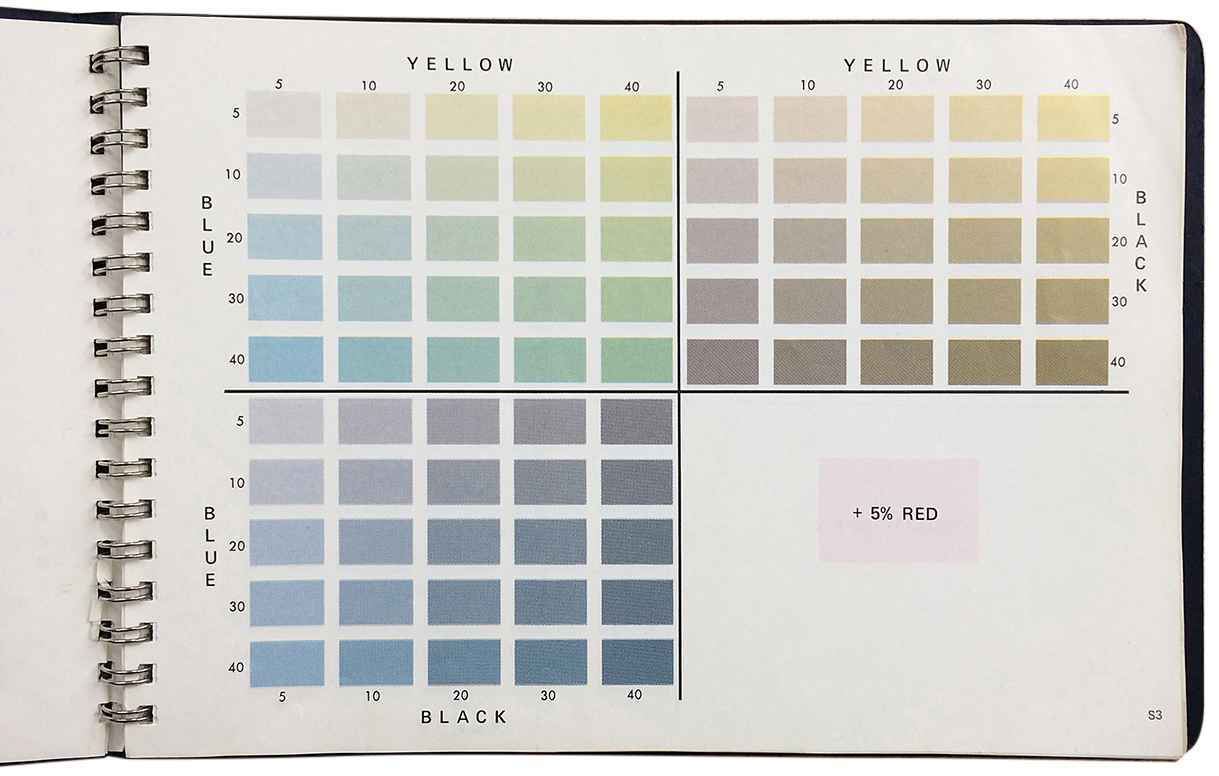
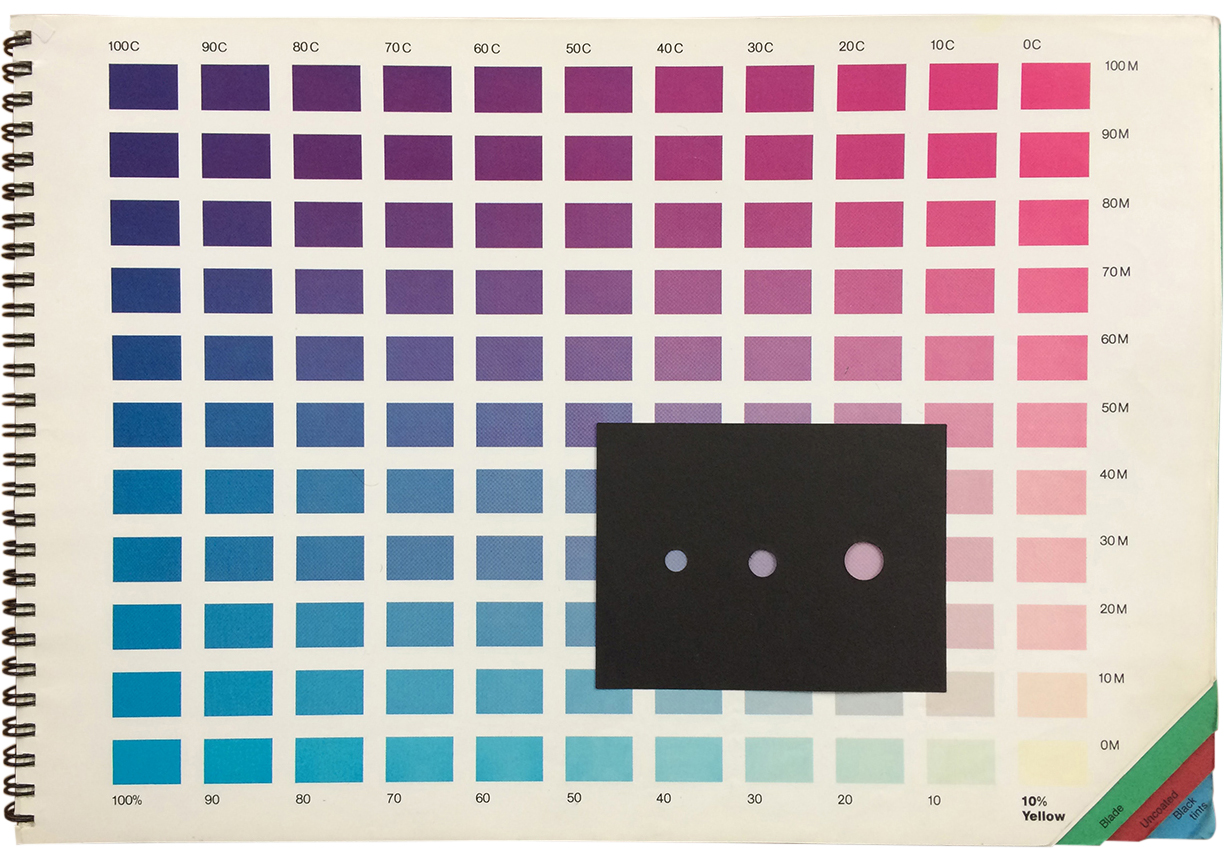
It obviously wasn’t just a matter of making overlays with pens and black ink, or cutting shapes in Rubylith film. You had to pick the CMYK colors, and try and visualize the final result. I used two process color books that displayed a huge range of possible color combinations.

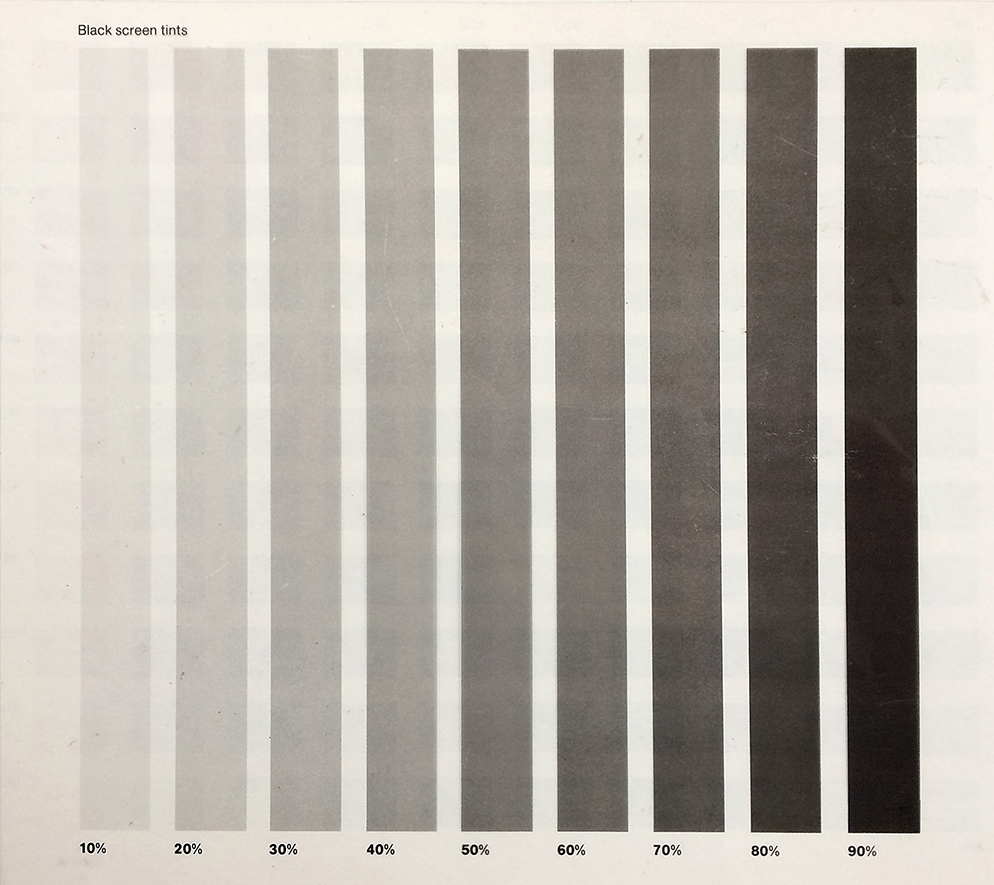
One book has black cards with cutouts to isolate colors, and a transparent sheet of black tints to estimate surprints.

Of course, you could refer to previous proofs and build up a vocabulary of color values that you knew would work. But it was not an exact science, and there were sometimes interesting results. Either I had marked up the overlays incorrectly, or there was a mistake at the pre-press company. (How they could ever get it right amazed me.) Sometimes I had selected a color, that when put next to another color, looked downright awful.

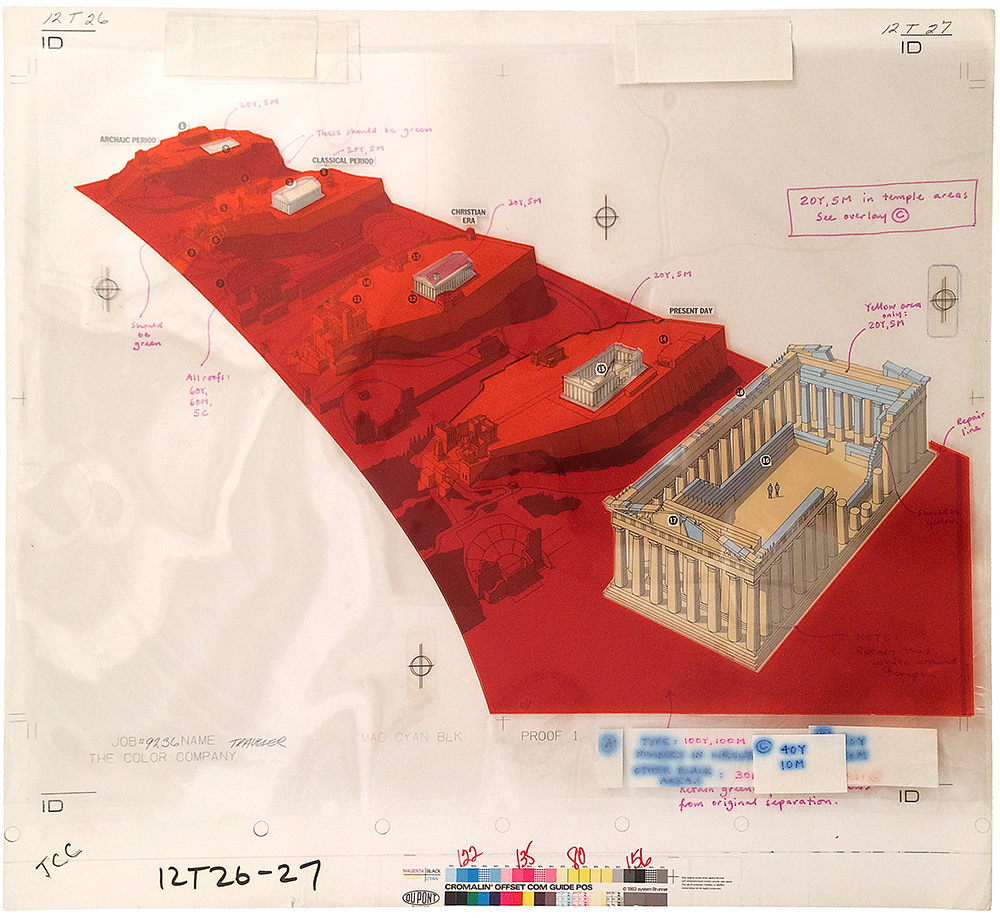
But mostly it worked. In the case of this Parthenon artwork (from 1988), I applied several layers to the first “Chromalin” proof to correct my miscalculations. I’ve shown the printed result before in a post about the pre-computer era: https://www.johngrimwade.com/blog/2016/09/26/when-infographic-dinosaurs-roamed-the-earth/

Time has taken it’s toll on this mechanical. The layers have shrunk or expanded, which is why they don’t register correctly, and the blue-inked instructions have spread out, but it still gives an good idea of the process of working with overlays.

This artwork is heading to Munich! It‘s part of an exhibition of my work. From March 9 to 11, at the EDCH and INCH conferences.
I will also be giving one of the keynote presentations at INCH, and running an information graphics workshop.

Design conference: http://www.edch-conference.com

Infographics conferencehttp://www.inch-conference.com

Infographic workshop: http://www.inch-conference.com/en/workshops

Tools of the trade

INFOGRAPHIC GEAR BEFORE THE COMPUTER.

Need a circle? Use this.

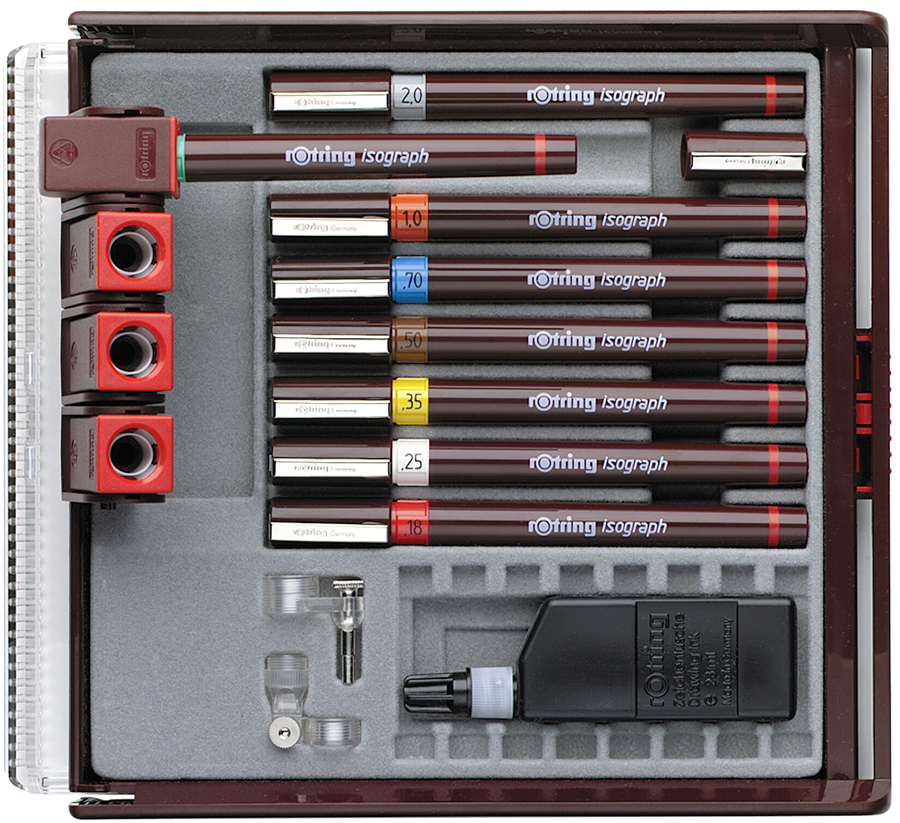
When I started making infographics, every freelancer in the business carried a briefcase everywhere they went. It was filled with all the equipment needed to make artwork. You needed technical pens, french curves, ellipse templates, compasses, ruling pens, paintbrushes, a craft knife, and so on. We spent a lot of time in art supply stores, buying designer’s colors and inks and everything else. I still love those places more than any other shops, although there are a hell of a lot less of them around now.

There were some problems that we don’t have today. If you ran out of ink on a Sunday, you were finished. Stores were closed for the day back then. Then there were the accidents: cuts from very sharp knives, bottles of ink knocked over onto elaborate artwork, airbrushes suddenly spitting paint over beautiful backgrounds.

Yes, it was stressful, but it was also a craft, and it felt like one. Like making furniture or pottery, or something arty. We were artists, or at least we thought we were. After all, we used some of the same gear, just no beret or white smock.

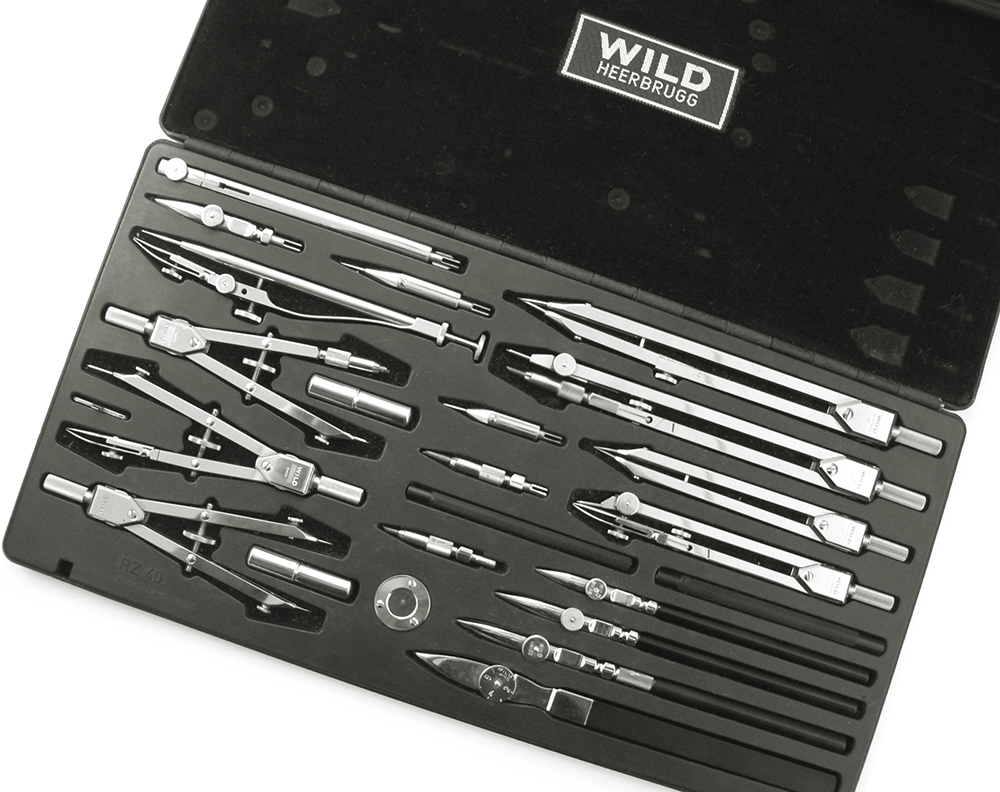
This compass set once belonged to Peter Sullivan, and was used to create numerous classic infographics. It is Swiss-made and is wonderful to use. It contains ruling pens and compasses of various sizes, including a drop-bow compass for very small circles, and an extension bar for large ones. Notice the small circular stand that lets you draw a circle without the compass point making a hole in the artwork.

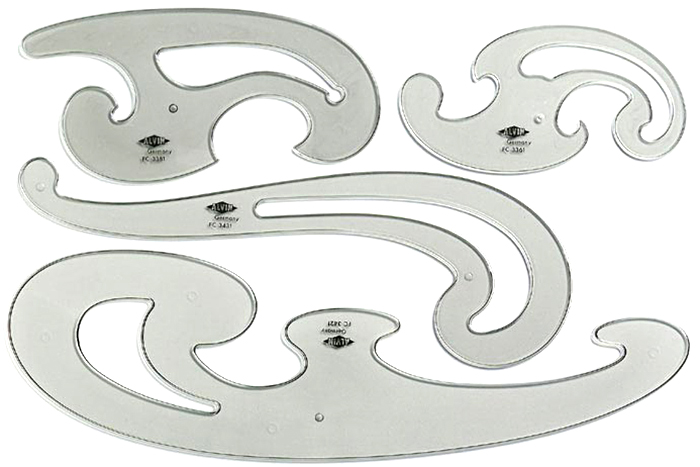
French curves were essential. I had some wooden ship curves for long, gentle arcs, and a difficult-to-use Flexicurve (a plastic bendable rod).

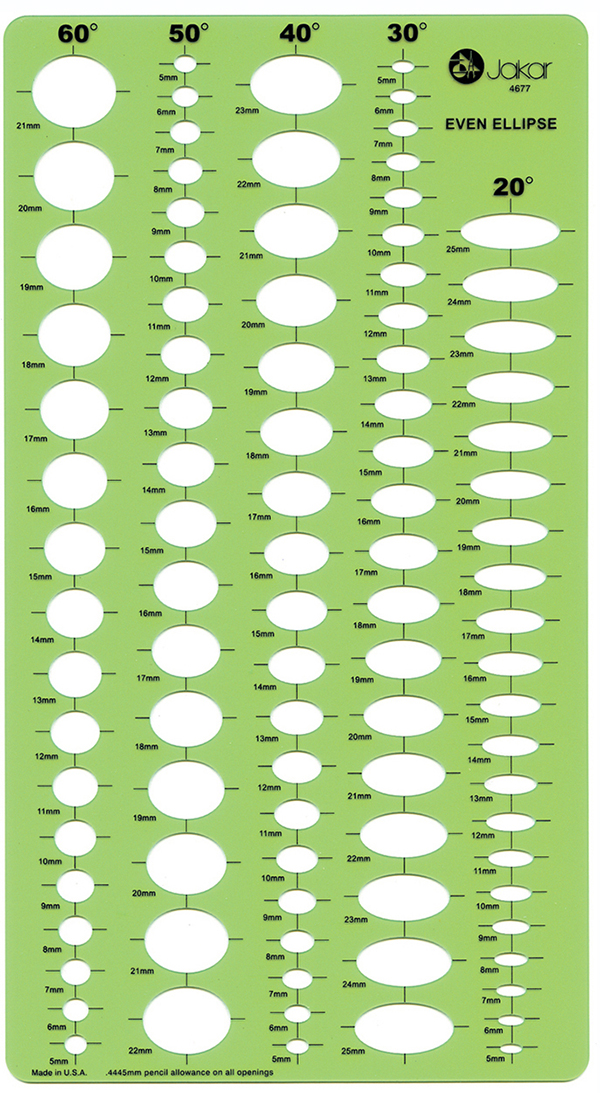
Ellipse templates were needed in multiple degrees and sizes to draw all the perspective circles in a piece of art. In a rough drawing, I would note the ellipses needed for the artwork, otherwise it meant painstakingly matching them up to their respective templates again. I had many of these crammed into my briefcase.

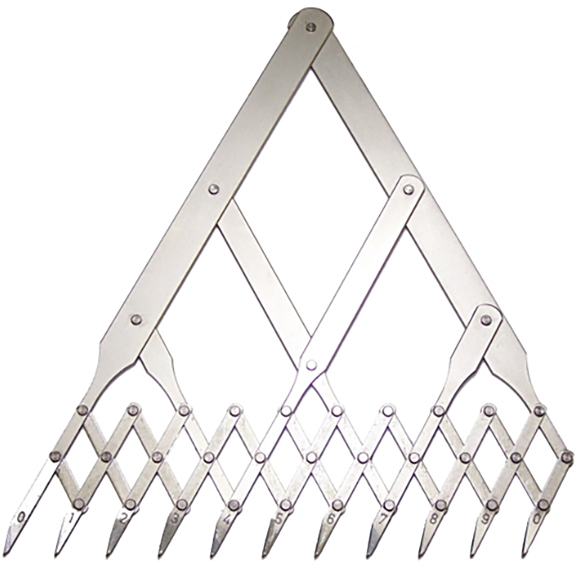
A more exotic instrument. The eleven-point divider was used for division of a line into up to ten equal sections, such as a scale on a chart. I never really used it, I just liked opening and closing it.

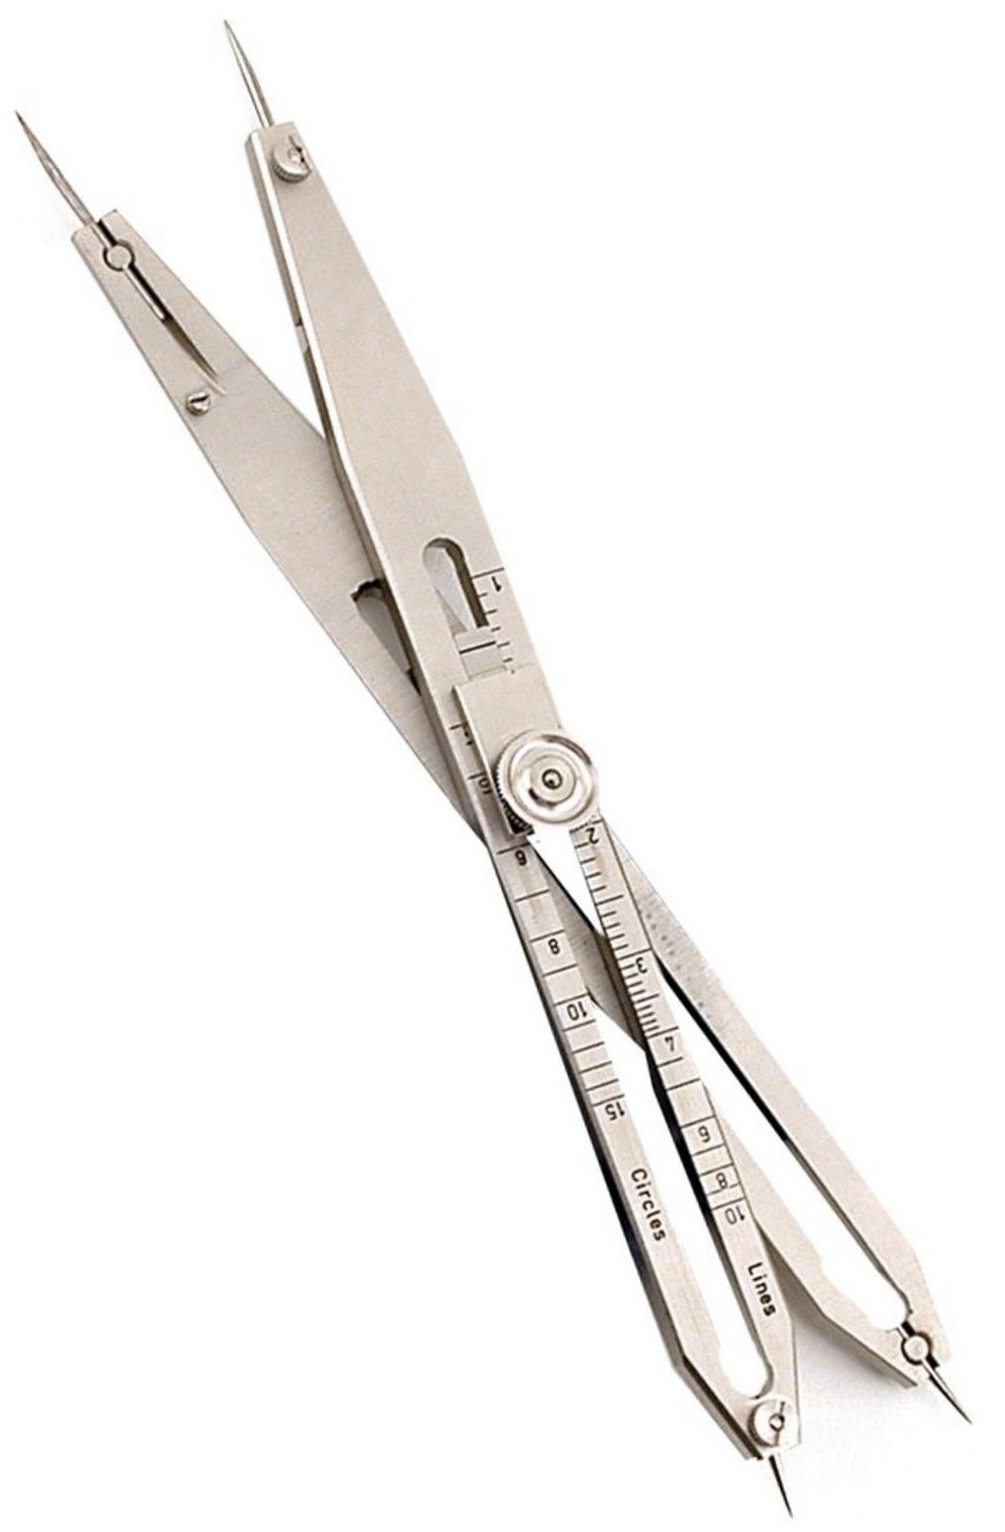
Below is a proportional divider. Used for transferring dimensions from one scale to another, or for dividing up lines equally.

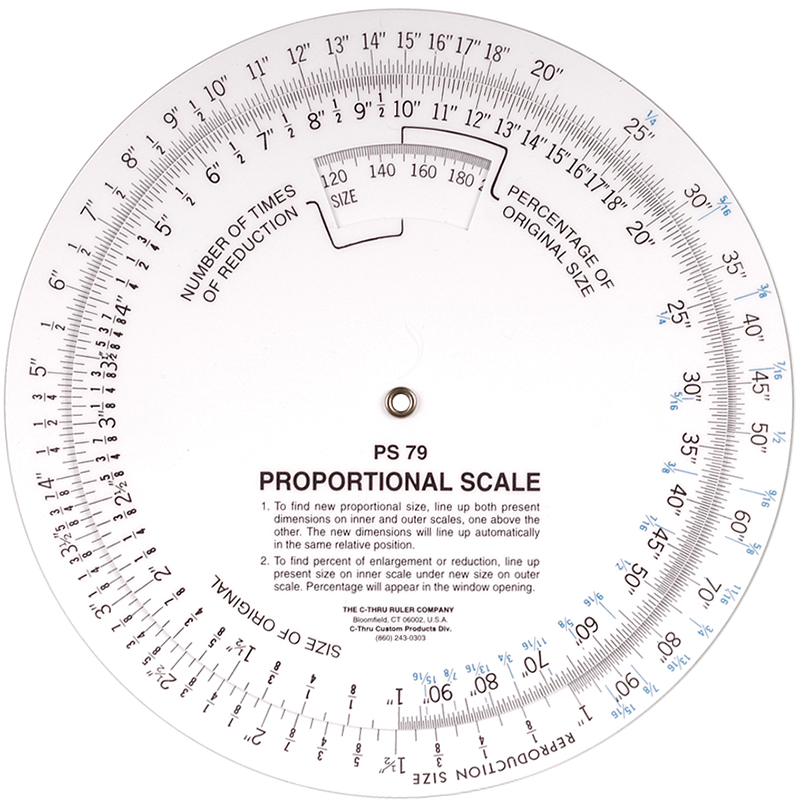
A proportional scale for working out scaled sizes was a staple of design departments back in the dark ages.